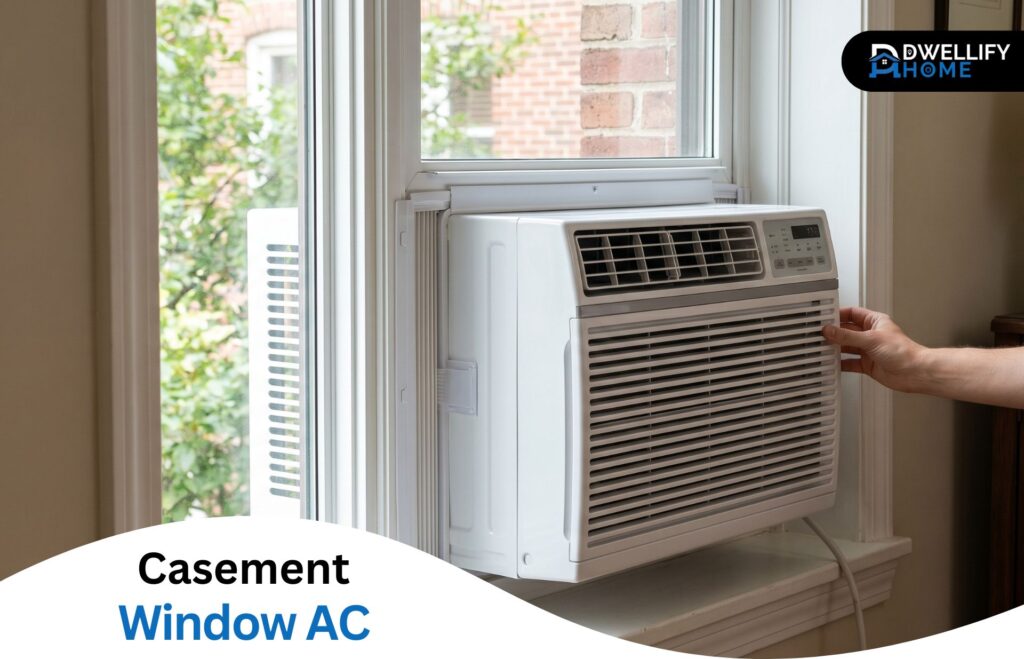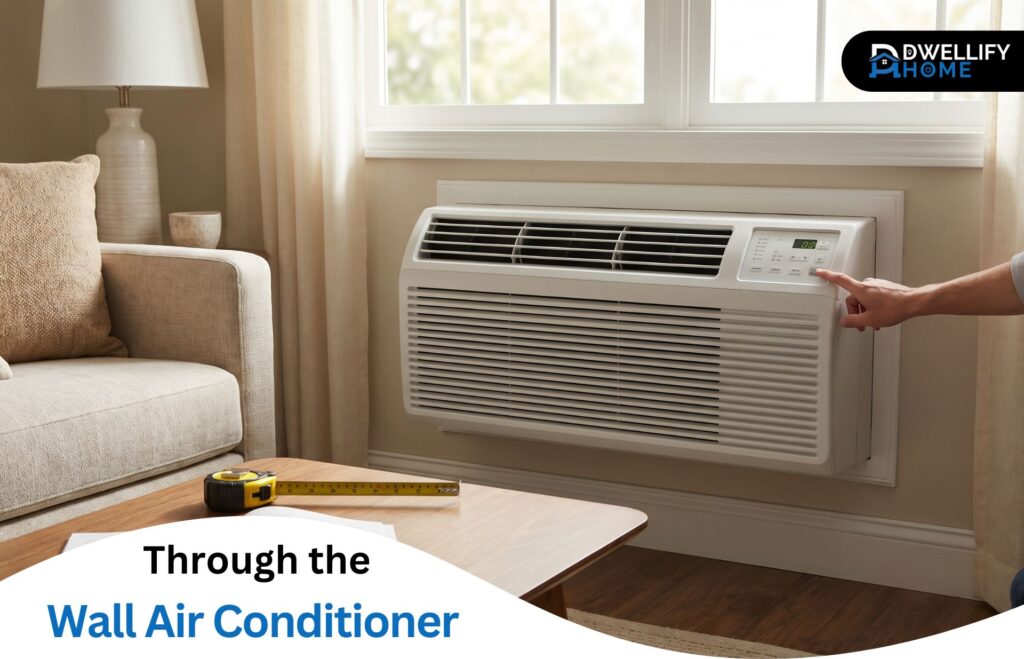
A through-the-wall air conditioner is a self-contained cooling unit that mounts permanently through an exterior wall and vents its heat out the back, which is why it leaves your windows free and seals up far tighter than a window unit. Picking the right one isn’t complicated once you know the order to think about it: sleeve fit first, then BTU sizing, voltage, whether you want heat, efficiency, and finally budget. Here’s how each piece fits together.
Snippet-Ready Definition
A through-the-wall air conditioner is a self-contained cooling unit that mounts permanently through an exterior wall and vents heat out the back. People choose it to cool a room without ductwork while keeping the window free.
Our Mission:
Dwellify Home exists to help homeowners and property enthusiasts make practical, well-informed decisions about their spaces. With through-the-wall air conditioners, that means clear guidance on how they work, what fits your wall, and how to choose a unit that cools reliably for years.
What a through-the-wall air conditioner is and how it works
These units do one job well. They cool a single room without taking over a window or needing any ductwork. The whole machine, compressor and all, lives in one box that slides into a metal sleeve set into the wall, and the heat and condensation exit through the back, never the front.
That rear venting is the main reason people pick a wall unit over a window model. The window stays usable, the opening seals tighter against drafts and noise, it’s harder to push in from outside, and a flush exterior grille looks cleaner than a unit hanging off a sill.
The cooling itself is ordinary refrigeration. A compressor moves refrigerant through two coils. The indoor coil pulls heat and moisture out of your room air, and the outdoor coil dumps that heat outside. Most of the water that condenses indoors gets flung onto the back of the unit and evaporates off the hot coil.
The sleeve is the part people underestimate. It’s the steel frame that carries the unit’s weight, ties into the wall, and seals the gap around the box. It’s often sold separately from the AC, and its dimensions decide which units will ever fit that hole. Get familiar with your sleeve before you shop for anything else.
Quick comparison: which cooling type fits?
| Type | Install | Best for |
| Through-the-wall | Permanent, in-wall sleeve | One or two rooms, no ducts, keeping the window |
| Window | Temporary, in window | Renters, seasonal use |
| PTAC | Permanent, 42-inch sleeve | Hotels, commercial rooms |
| Mini-split | Permanent, small wall line | Whole-home zoning, top efficiency |
Why people choose a through-the-wall unit
- Frees up the window and the view
- Seals tighter against drafts, noise, and intruders
- Cools a room with no ductwork required
- Sits flush for a cleaner look than a window unit
- Lasts 10 to 15 years with basic care
Through-the-wall AC vs window AC, PTAC, and mini-split
A through-the-wall AC is the right pick when you want permanent cooling for one or two rooms and you don’t have ducts. The install is permanent, though, so it’s worth a quick look at the alternatives first.
| Type | Install | Venting | Relative cost | Best for |
| Through-the-wall | Permanent, in-wall sleeve | Out the rear | Moderate | One or two rooms, no ducts, keeping the window |
| Window | Temporary, in window | Sides and rear | Lowest | Renters, seasonal use, quick fixes |
| PTAC | Permanent, 42-inch sleeve | Out the rear | Higher | Hotels, commercial rooms, large spaces |
| Mini-split | Permanent, small line through wall | Outdoor condenser | Highest | Whole-home zoning, top efficiency, quiet |
Choose a wall unit when the window matters, you want a clean permanent setup, and you’re cooling defined rooms. Lean toward a window unit if you rent or only need summer cooling. A PTAC is really a commercial product built for a wider 42-inch sleeve. And a mini-split wins when you want the highest efficiency, room-by-room control, and near-silent operation, as long as you can budget for professional installation.
How to size a through-the-wall air conditioner (BTU by room size)
Sizing comes down to matching BTUs to your room’s square footage. Here’s the rough guide I work from.
| Room size | Cooling capacity |
| 150–250 sq ft | ~6,000 BTU |
| 250–350 sq ft | ~8,000 BTU |
| 350–450 sq ft | ~10,000 BTU |
| 450–550 sq ft | ~12,000 BTU |
| 550–700 sq ft | ~14,000–15,000 BTU |
| 700–1,000 sq ft | ~18,000–24,000 BTU |
Adjust up by about ten percent for a room that bakes in afternoon sun or has high ceilings, and add more for a kitchen or a space that’s regularly crowded. An 8,000 BTU through-the-wall air conditioner comfortably handles a typical bedroom or home office in the 300 square foot range.
The mistake I see most is going bigger to be safe. An oversized unit cools the air fast, shuts off before it pulls the humidity out, and leaves the room cold and clammy. Right-sized beats oversized every time.
Sleeve dimensions and replacement compatibility
Most modern through-the-wall units are built around a roughly 26-inch-wide sleeve. The standard opening runs about 26 inches wide, 15½ inches tall, and somewhere between 16¾ and 20 inches deep, which covers the large majority of units on the shelf today.
The numbers you’ll see on listings, like 26 x 17, 26 x 16, and 26 x 18, are essentially the sleeve’s width by height in inches. They’re close cousins, but close isn’t the same. Measure the inside of your existing opening before you order anything, because an inch off means the new unit won’t seat or seal.
There are two other families worth knowing. Some units use a narrower 24-inch sleeve, and older buildings often have a wider 27-inch Fedders A/B opening that may need a baffle or adapter to fill correctly. Universal-fit units, like the Friedrich Uni-Fit line, are designed to drop into a range of older sleeves, which saves a lot of grief in a retrofit.
You can reuse the old sleeve if it’s solid, square, and not rusted through. Replace it if it’s corroded, bowed, or the new unit’s gaskets can’t seal against it. A tired sleeve is the source of most leaks and drafts down the road.
Electrical requirements — 115V vs 230V
The simple rule: units under about 12,000 BTU usually run on a standard 115-volt outlet, and anything larger jumps to 230 volts. Confirm this before you buy, because a 230-volt unit will not run on a normal wall plug, and that surprise has sent plenty of new air conditioners back to the store.
You’ll see a few plug types. Smaller 115-volt units often use an LCDI plug, the chunky one with a test and reset button built in for safety. Larger 230-volt units use a different blade pattern, usually a NEMA 6-15P or 6-20P. The shape tells you the voltage at a glance.
Most manufacturers want these units on their own dedicated circuit, and a 230-volt model always needs one run by an electrician. Don’t share that circuit with other heavy loads, or you’ll be resetting breakers all summer.
Heating options — should you get a unit that also heats?
Sometimes, yes. A unit that also heats can replace a space heater in a guest room or a shoulder-season bedroom, but the type matters. Electric resistance heat is cheap to buy and instant, but expensive to run. A heat pump costs more upfront and runs efficiently in mild cold, down to around 45 degrees.
Electric resistance is the simpler option. It works like a built-in space heater, warms up immediately, and is fine for occasional use. Run it all winter, though, and you’ll feel it on the power bill.
A heat pump is the smarter choice for regular heating in a mild climate. It moves heat rather than burning watts to make it, so it’s far more efficient until the temperature drops near freezing, at which point it leans on backup electric heat and needs a 230-volt circuit. The Friedrich WallMaster line is a good real-world example, with heat-pump models in the 10,000 to 12,000 BTU range running on the newer R-32 refrigerant.
Skip the heat entirely if you already have central heating or live somewhere cold enough that a wall unit can’t keep up. In those cases you’re paying for a feature you won’t lean on.
Energy efficiency — EER, CEER, and what to look for
Efficiency on these units shows up as two numbers: EER and CEER. EER measures cooling per watt at a fixed test condition. CEER is the more honest figure because it also counts the trickle of power the unit draws while plugged in but switched off. Higher is better on both.
Energy Star models generally need a CEER somewhere around 10.7 to 12 depending on size, and that label is a reliable shortcut if you don’t want to compare spec sheets. An inverter compressor is the bigger efficiency story, though. Instead of slamming on and off, it ramps up and down to hold a steady temperature, which uses less power and keeps the room more comfortable.
One thing worth checking before you buy: high-efficiency heat-pump units can qualify for federal tax credits or local utility rebates. A few minutes confirming that can knock real money off the total.
Noise — how quiet is a through-the-wall AC, really?
Quieter than most people expect, but not silent. A typical through-the-wall AC runs somewhere around 50 to 60 decibels depending on size and fan speed, roughly between a quiet conversation and a running dishwasher. The compressor sits indoors, so you’ll hear it more than a mini-split and less than an old window rattler.
Bigger units on high fan are louder, plain and simple. Inverter models and units with a sound-dampened chassis run noticeably quieter and are worth it in a bedroom. Honestly, though, the loud-AC complaints I get called out for are usually a unit that isn’t seated tight in its sleeve, not the machine itself. A snug fit and a good gasket solve most of it.
Features worth paying extra for
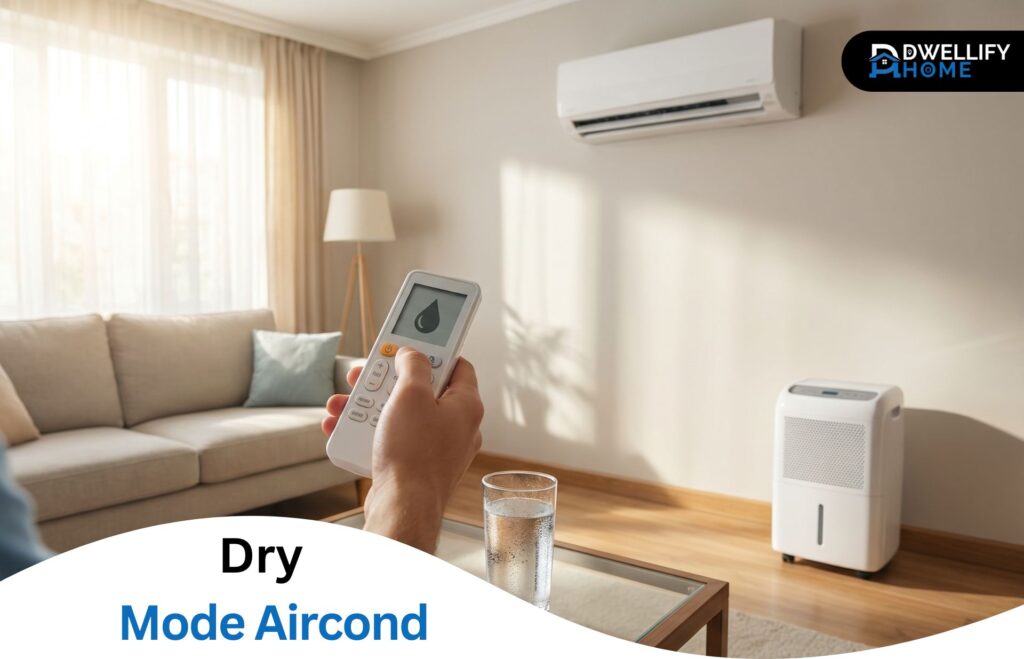
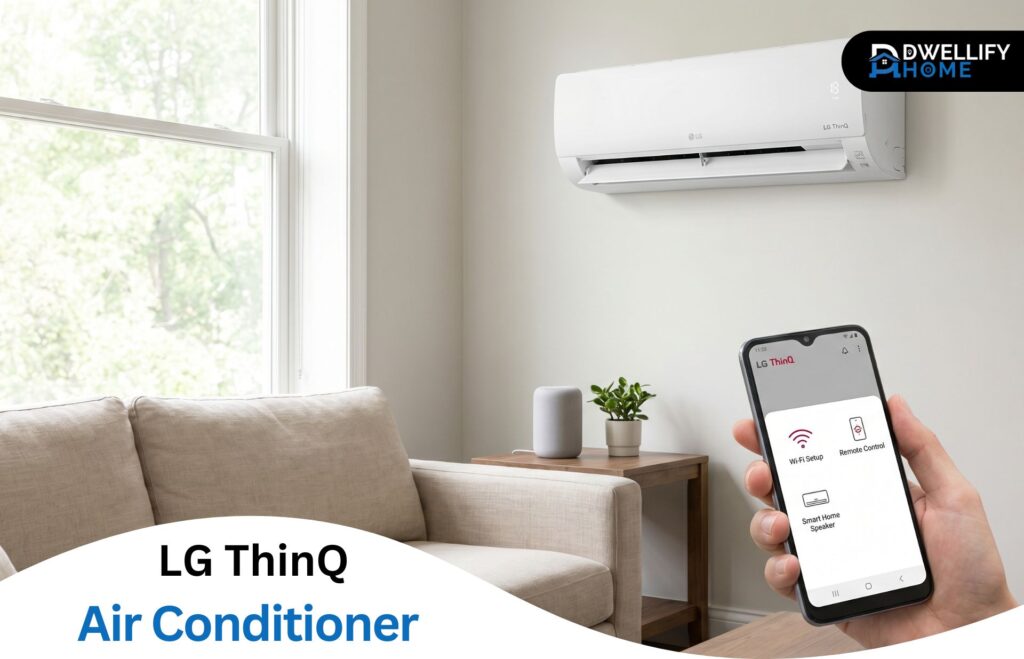
A few features genuinely earn their cost, and a few are there to fatten the spec sheet. Smart Wi-Fi and voice control land in the worthwhile column if you like cooling a room before you walk in or running it on a schedule. Among the modes, dehumidify and sleep are the ones I actually use, while eco or money-saver mode cycles the fan with the compressor to trim a little power.
Filter access matters more than people expect. A washable mesh filter is standard, but easy front access is what determines whether you’ll actually clean it. Louver direction control and a 24-hour timer are small touches that make daily life easier.
On refrigerant, new units are shifting from R-410A to R-32 because of an industry phasedown, so a unit you buy today will most likely be R-32. It carries a mild flammability rating, but it’s sealed in the factory system and isn’t something you handle, so it shouldn’t affect your decision beyond knowing what you’re getting.
Installation — what’s involved, who should do it, and approvals
Installation falls into three buckets, and which one you’re in decides almost everything about the effort.
Cutting a new opening in a wood-frame wall is the middle road. You frame the hole with a header and supports so the wall stays sound, then set the sleeve level with a slight downward pitch toward the outside so water drains away from the room. A confident DIYer can manage it, but the framing and the weatherproofing are where small mistakes turn into leaks.
A masonry or brick wall is the hard version. Cutting block or brick takes the right tools and proper lintel support, and it’s usually a job for a pro.
Replacing a unit in an existing sleeve is the easy path: pull the old one, inspect the sleeve, slide the new unit in, and seal it up. Often a one-person afternoon.
On approvals, a house generally just needs you to follow local code, plus a permit for new electrical. In an apartment, condo, or HOA, you almost always need building approval before cutting an exterior wall, since the facade is shared. Ask before you cut.
What a through-the-wall air conditioner costs
Budget for three things: the unit, the sleeve, and the install. A cool-only unit typically runs from about $400 to $1,200. Heat-pump and 230-volt models land higher, roughly $700 to $1,800, and premium brands like Friedrich or GE Profile can run from $1,200 to over $2,000. If the sleeve and grille aren’t included, add another $100 to $200.
Install labor swings the widest. Dropping a new unit into a sound existing sleeve is cheap, often $200 to $600. Cutting a fresh opening in a wood-frame wall is more like $1,900 to $4,000 and up once you factor framing, electrical, and patching. In dense cities the number climbs further. A co-op install in New York with scaffolding and board sign-off can land between $3,000 and $5,000.
So the through-the-wall air conditioner price you actually pay depends less on the box than on the wall. A straight swap can be a few hundred dollars all in. A new install in a finished wall is a low-four-figure project.
Best through-the-wall air conditioners by scenario
Rather than chase a single best model, match the unit to the room. For a small bedroom or home office under 300 square feet, an 8,000 BTU unit on a standard 115-volt outlet is plenty, and I’d prioritize a quiet fan and a washable filter.
For a medium living room of 300 to 500 square feet, look at 10,000 to 12,000 BTU, and watch that 12,000 BTU line, because that’s where you may cross into a 230-volt requirement. For a large or open room up to 700 square feet, plan on 14,000 to 15,000 BTU on 230 volts and confirm your circuit can carry it.
If you want heat, the Friedrich WallMaster line is the one I point people to, including a Friedrich 12,000 BTU heat-pump model with backup electric heat, which suits a room you want comfortable year-round in a mild climate. And if steady temperature and lower running cost matter most, choose a unit that advertises an inverter compressor, such as Friedrich’s Precision Inverter. It costs more, but it runs smoother and quieter than a standard on-off unit.
Maintenance and how long a unit lasts
A through-the-wall air conditioner lasts 10 to 15 years with basic care, and burns out in 5 to 8 when it’s ignored. The care is genuinely simple. Rinse or wash the filter once a month during cooling season, and once a year open the unit to clean the coils and check that the drain path is clear. Keep the outdoor grille free of leaves and nests.
Winter is the other half. In a cold climate, a bare sleeve pours cold air into the room, so a winter cover or an inside sleeve plug makes a real difference. That one step is the cheapest comfort upgrade these units have.
Common problems and quick fixes
Water leaking into the room is almost always a pitch problem. The unit should tilt slightly toward the outside so condensate drains away from you, not onto your floor. If it’s level or tipped inward, that’s your leak.
A unit that ices over or short-cycles usually starts with a dirty filter, then comes down to an oversized unit or blocked airflow. A frozen indoor coil points to low airflow or a low refrigerant charge.
Rattling, buzzing, or vibration is typically a loose fit. The box isn’t seated tight in the sleeve, or a panel screw has backed out. A fresh gasket and a snug mount quiet most of it.
When a unit just isn’t keeping up, check the filter and coils first, confirm it’s sized for the room, and make sure nothing outdoors is blocking the rear vent. Those three checks solve the bulk of weak-cooling calls.
Frequently asked questions
Can I install a window AC in a through-the-wall sleeve?
Usually not safely. Most window units pull air in and vent heat from their sides, and a closed wall sleeve blocks those side vents, so the unit overheats and fails early. Only models specifically rated for through-the-wall use, or true wall units, belong in a sleeve.
Do through-the-wall units need venting like a portable AC?
No. A portable AC needs a hose to push heat out a window. A through-the-wall unit vents its own heat straight out the back through the wall, so there’s no hose and nothing extra to route. The wall opening is the venting.
How big a hole do I need to cut?
For most modern units, plan on an opening around 26 inches wide and about 16 inches tall, sized to the exact sleeve you’ll install. Always cut to that specific sleeve’s specs rather than a generic number, and frame the opening so the wall stays structurally sound.
Can I paint the exterior grille?
Yes, and many people do to match the siding. Set the louver direction first, use an exterior-grade paint, and keep paint off the coils and fins behind the grille. Painting over those fins chokes airflow and hurts cooling.
Do I need a permit?
For a new opening or new electrical, usually yes, especially the wiring for a 230-volt circuit. A straight unit swap into an existing sleeve typically doesn’t need one. In an apartment or condo, you’ll also need building or HOA approval before touching the exterior wall.
Can I add Wi-Fi to a non-smart unit?
Often, yes. If the unit accepts a remote, a smart controller that mimics that remote can give you app and schedule control without replacing the AC. It won’t add functions the unit doesn’t have, but it turns a basic model into a far more convenient one.
Choosing the right through-the-wall air conditioner with confidence
Choosing a through-the-wall air conditioner gets simple once you take it in order. Start by measuring your existing opening or sleeve, because fit rules out half the options before you spend a dollar. From there, size the unit to the room, confirm whether you need 115 or 230 volts, decide if heat earns its place, and weigh efficiency and noise against your budget. Skip the features you won’t use. Do that, and you’ll land on a unit that fits the hole, cools the room, and lasts. When in doubt, measure twice before you buy.
Disclaimer: This content is for general informational purposes only. Individual homes, preferences, and situations vary, so confirm sizing, electrical, and installation details for your specific space before you buy or install.