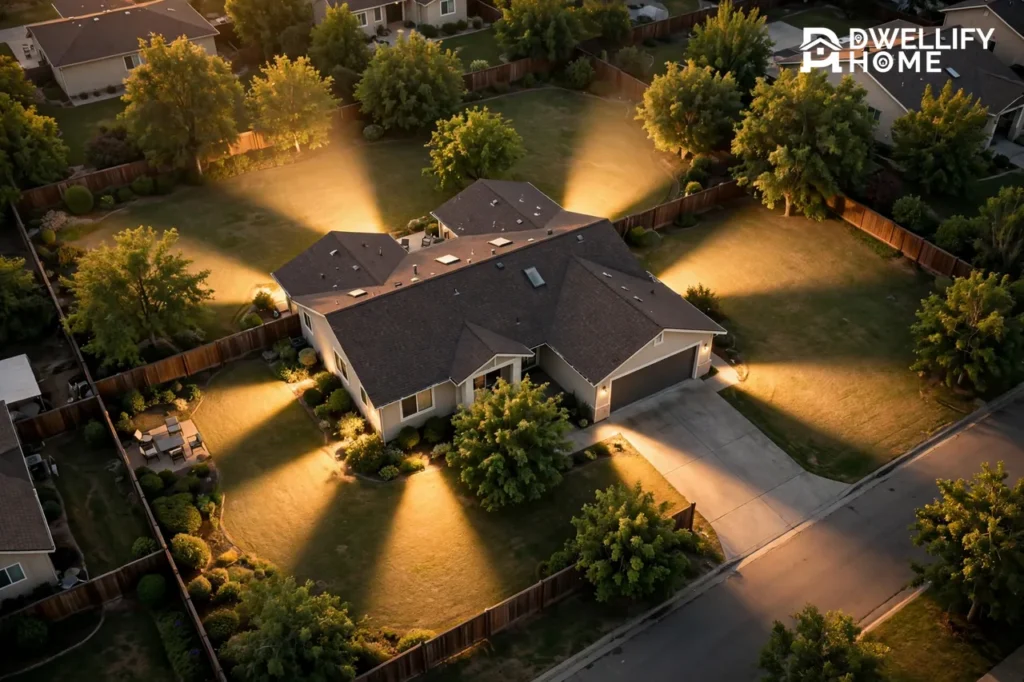
An outdoor security camera placement diagram is a simple sketch of your property that shows where each camera sits and what each one sees. Draw the house, mark the doors and windows, place a camera at each entry and approach, and draw a wedge for each camera’s view. The white gaps between the wedges are the blind spots you still need to cover.
You do not need a perfect architectural plan. A hand sketch on paper, or a basic drawing on your phone, is enough. This guide shows you how to draw your diagram in five steps, where each camera goes, how high to mount it, and how to check the plan before you drill a single hole.
What a Good Placement Diagram Shows
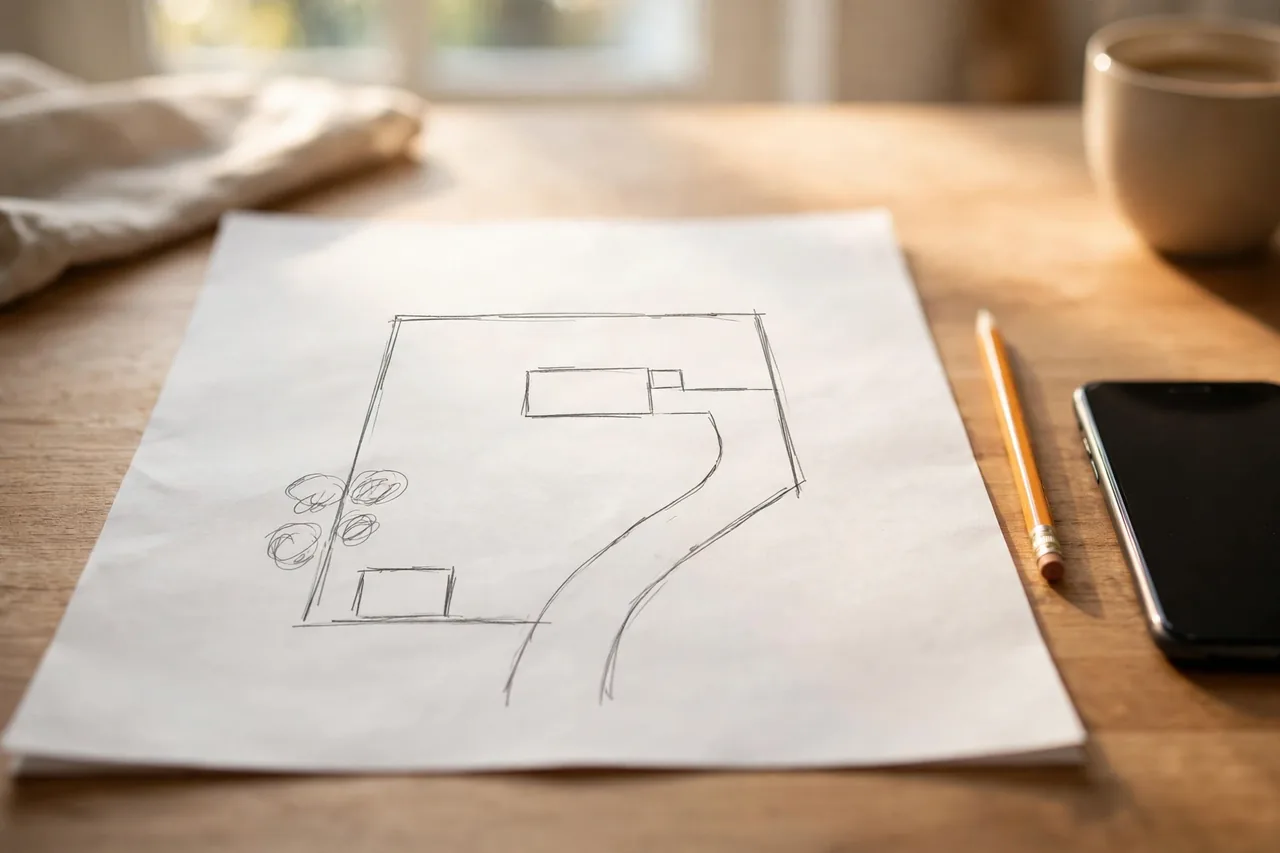
A good diagram answers one question: which routes could bring someone close to the house? It shows the house, the driveway, the walkways, the side passages, the back yard, and every ground-floor door and window. It shows each camera as a dot with a wedge for its view, and it shows the overlaps where two cameras watch the same ground.
The diagram also records the practical details: the mounting height of each camera, the power source for each one, and the Wi-Fi signal at each spot. A plan that ignores power and Wi-Fi is a plan that fails at install time. Draw power and Wi-Fi on the diagram before you buy anything, because a camera with no power and no signal is just a decoration.
Start with the property, not with the cameras. Mark the entry points first, then add cameras to watch them. A camera placed for looks, high on a gable with a pretty view of the roof, watches nothing useful.
Step 1: Sketch Your Property Layout
Take a sheet of paper and draw the outline of your house as a rectangle. Add the driveway, the front walkway, the side passages between the house and the fence, the back yard, and the garage. Mark the trees, sheds, fences, and gates, because each one blocks a view or hides an approach.
Mark every ground-floor door and window. The front door, the back door, the side door, the garage door, and every ground-floor window are all entry points. Mark the main stairs and any place where someone could climb, such as a low roof or a trellis. Note the spots hidden from the street, because those are the approaches a stranger prefers.
You can use a property plan from your closing papers as a base, or you can sketch freehand. Either works. The diagram only needs to show how the parts of the property connect, not exact measurements. Walk the property once with the sketch in hand and add anything you missed, especially gates and side passages that are easy to forget from inside the house.
Step 2: Mark the Entry Points and Approaches
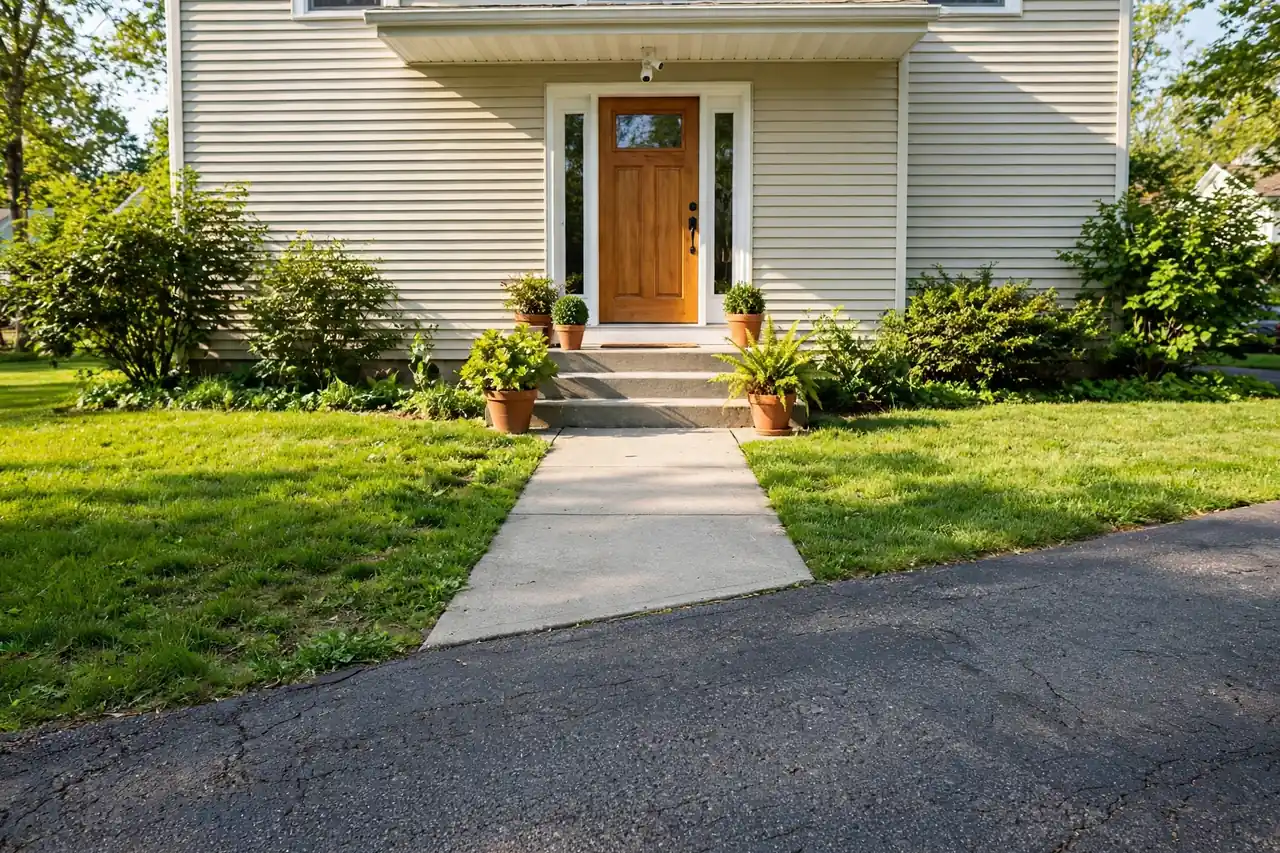
Circle the entry points on your sketch. The front door is the most used entry, but the back door and side windows are the most common break-in points, because they sit out of street view. A burglar chooses the approach nobody can see, so your diagram must cover the hidden sides, not just the pretty front.
Draw an arrow for each approach route: the driveway from the street, the front walkway, each side passage, and the back yard from the rear fence. Each arrow is a path a person could walk, and each one needs a camera that sees it early. A camera that only sees the door catches a person at the last second. A camera that sees the approach catches them while they are still deciding.
Rank the approaches. Doors first, then ground-floor windows, then the driveway, then the side passages, then the back yard. If you can only afford four cameras, they go on the four highest-ranked approaches. Our best home security camera system guide shows how a full system ranks coverage across a property.
Step 3: Place the Cameras on the Diagram
Place one camera per approach, on the corner or wall that sees the most ground. A camera on a corner sees down two sides at once, which is why corners are the best mounts on a house. A camera in the middle of a wall sees only the ground in front of that wall.
Draw a wedge from each camera dot to show its field of view. A fixed camera sees about 90 to 140 degrees wide, a wide-angle camera sees about 180 degrees, and a pan-and-tilt camera sweeps a full circle over time. Draw the wedge at the camera’s real angle, not at a hopeful one. The white gaps between the wedges are your blind spots, and blind-spot guide shows how to find and fix each one.
Overlap the wedges on purpose. Place each camera so its wedge overlaps the next camera’s wedge by a few feet, so a person walking from one camera to the next never leaves the frame. Reolink’s blind-spot guide gives the same advice: overlap the views so each camera covers the next camera’s blind corner. A typical four-camera plan looks like this:
Rear yard

[rear camera]          [side camera]

+----------------------------------+

|            House                 |

Side path  |  stairs  |  Side path

[side camera]              [side camera]

+----------------------------------+

[entry]

Driveway

[front camera]
This is a starting pattern, not a fixed rule. Your house has different paths, walls, fences, and blind spots, so your diagram will look different. The pattern reminds you to cover the front, the sides, and the rear, instead of putting every camera around the main entrance. The SafeSoundSecurity placement guide gives the same advice: sketch the property, mark the doors and windows, and build the plan in the order of entry points, front, sides, and rear. See SafeSoundSecurity’s guide to where to put security cameras for its full method and sample diagram.
Step 4: Set the Height and Angle for Each Camera
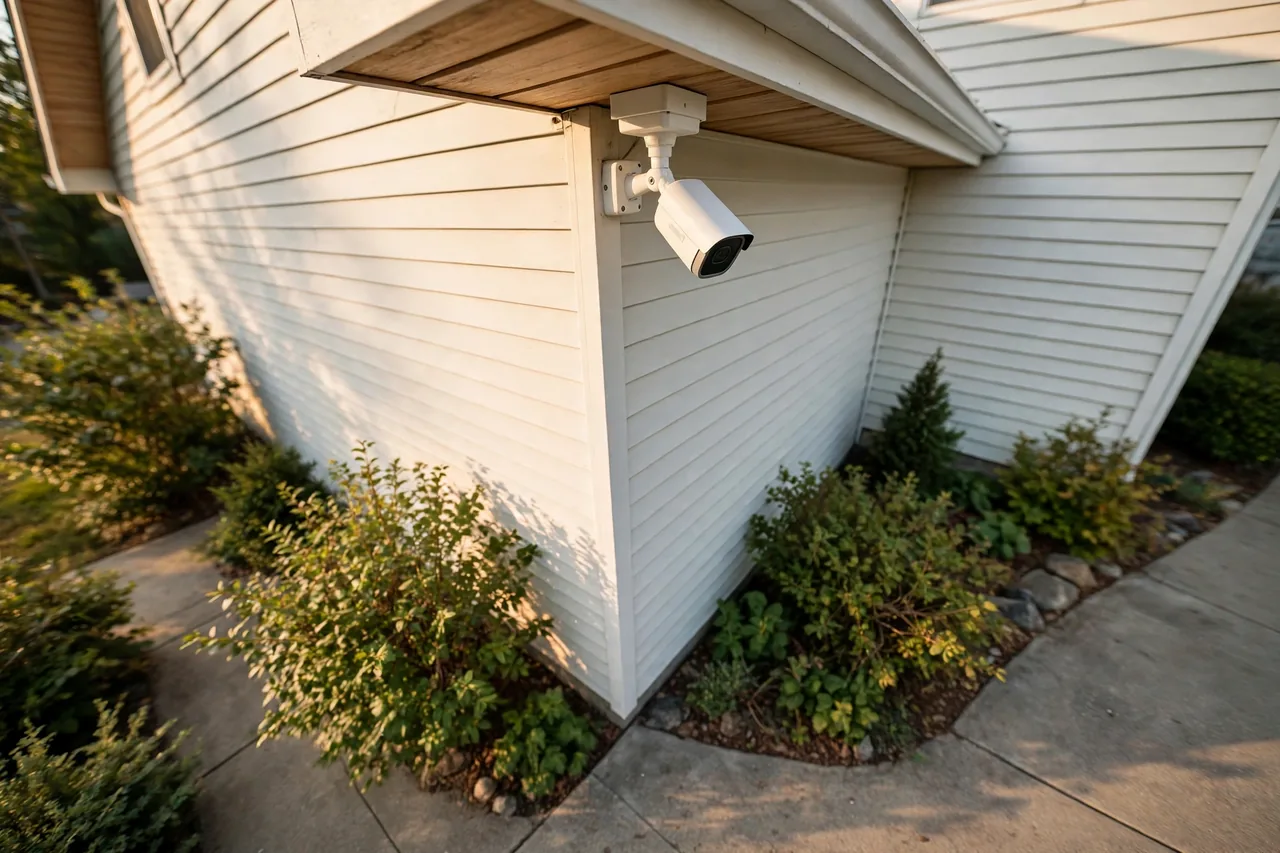
Write the mounting height next to each camera dot on the diagram. For most outdoor cameras, 7 to 10 feet high is the sweet spot. Lower than 7 feet, and the camera is easy to reach and tamper with. Higher than 10 feet, and faces shrink while the blind cone below the camera grows. A camera at 8 to 9 feet catches faces clearly and stays out of easy reach.
Write the tilt angle too. Tilt each camera down 10 to 30 degrees from horizontal. A 15-degree tilt suits a front door camera that watches a walkway, while a steeper tilt suits a camera that watches a small yard. Never aim a camera straight across at eye level, because it will catch the street and the neighbors more than your own ground.
Check the height in real life before you drill. Stand where the camera will go and hold your phone at the mounting height, then look at what the phone sees. If the phone cannot see the walkway, the camera will not either. Move the mount until the phone sees the approach, the door, and the ground below.
Step 5: Check Power, Wi-Fi, and Light for Each Spot
A camera dot on a diagram is a promise, and power, Wi-Fi, and light are what keep it. Check all three for each camera before you buy.
Power first. A wired camera needs an outdoor fixture or a cable run, a PoE camera needs an Ethernet cable back to a switch, and a battery or solar camera needs sun or a charging plan. Mark the power source for each camera on the diagram. Our PoE security camera guide explains the wired route, and our battery operated security camera guide explains how long battery cameras last.
Wi-Fi second. Stand at each camera spot and check your phone’s signal. If the signal is weak, mark a mesh node on the diagram between the router and the camera. Our wireless outdoor camera guide covers Wi-Fi range and the 2.4 GHz limit most cameras have.
Light third. Note the sun and the streetlights at each spot. A camera aimed into the low sun or a streetlight turns people into dark shapes, so keep bright lights behind the camera. A dark corner needs a camera with a spotlight or a floodlight, like the picks in floodlight camera guide. Check each spot at dusk, because glare and shadows change the picture completely.
Where Each Camera Goes: The Standard Layout
Most homes follow the same layout, with small changes for their shape. Use this as your starting point, then adjust it to your diagram.
Front Door and Porch
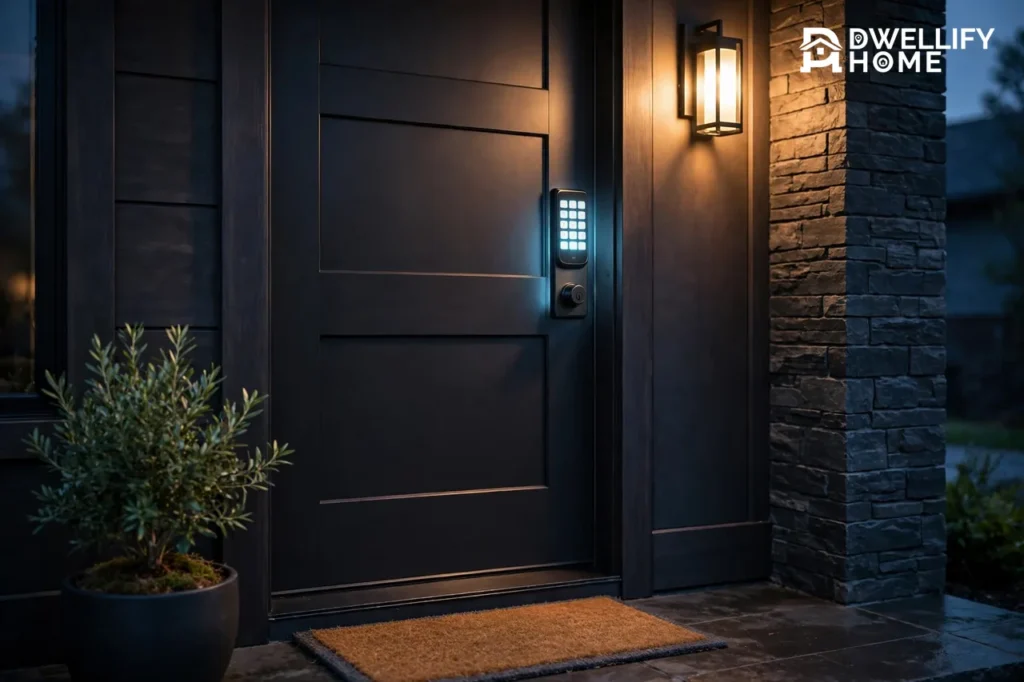
Place a camera above the front door, 8 to 9 feet high, angled down the walkway. It should see the approach, the porch, and any packages on the steps. A front porch camera is the most useful single camera in a home, because it watches visitors, deliveries, and the main entry at once.
Driveway and Parking Area
Place a camera at the house end of the driveway, aimed down its length toward the street. It should catch cars as they arrive and faces as people walk up. A driveway security camera with a longer lens catches plates at the far end, while a wide camera catches the whole driveway at once.
Back Door and Back Yard
Place a camera above the back door, aimed across the yard toward the rear fence. The back door is the most common break-in point, because the street cannot see it. A second camera at the rear corner watches the fence line and the side passage that leads to it.
Side Passages and Gates
Place a camera at one end of each side passage, aimed down its length. Side passages are narrow, dark, and hidden, so a camera there closes the approach a stranger prefers. If you have only one side camera, put it on the side with the gate or the darker passage.
Garage
Place a camera above the garage door, aimed at the driveway and the garage entrance. A garage security camera watches cars, tools, and the side door that many garages have. It also overlaps the driveway camera, which removes a blind spot at the most used part of the property.
Sample Diagrams for Three Home Shapes
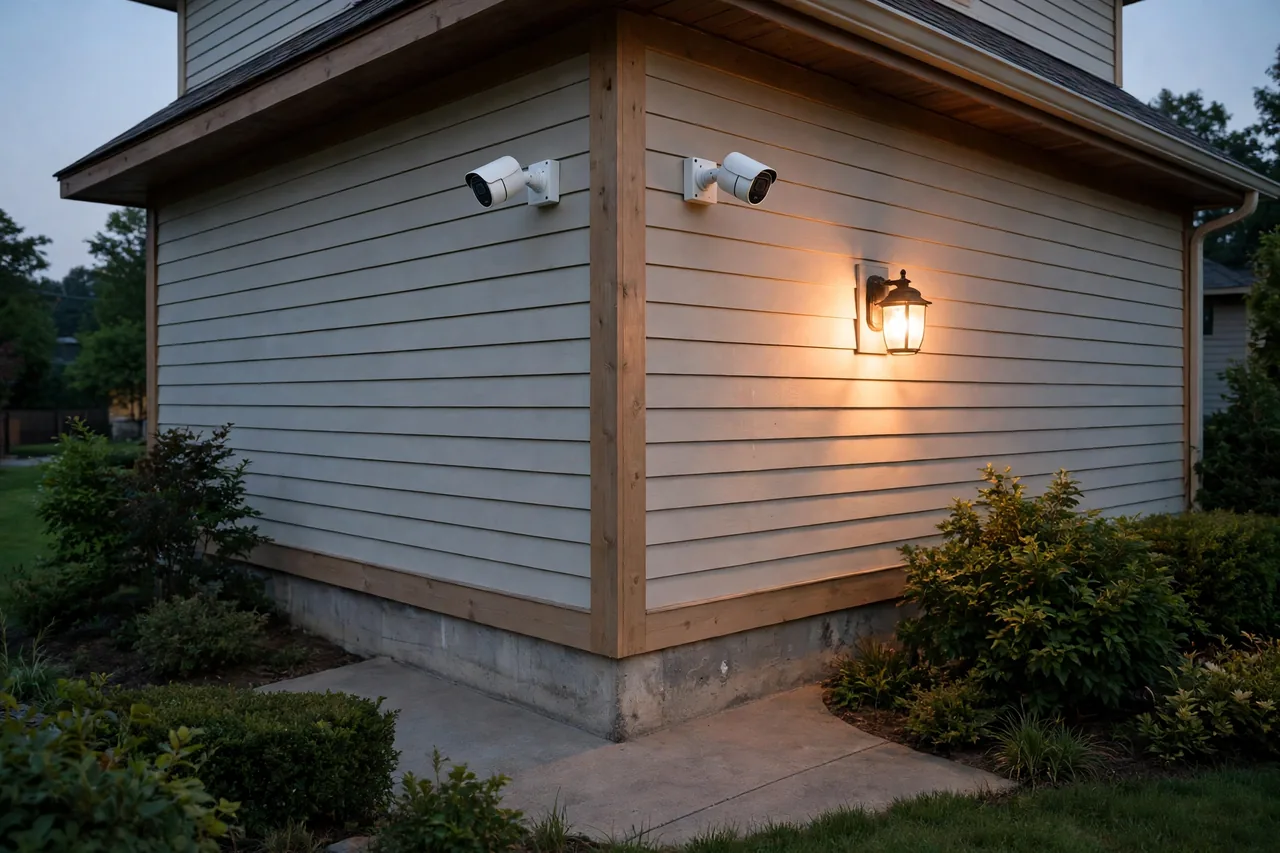
Every home is different, but most fit one of three shapes. Pick the one closest to yours and adjust it.
Caption: Camera counts for three common home shapes.
| Home Shape | Cameras | Where They Go |
|---|---|---|
| Small single-story home | 4 | Front door, driveway, back door, one side passage |
| Two-story home | 5 to 6 | Front door, driveway, back door, both side passages, garage |
| Corner lot or large yard | 6 to 8 | All of the above, plus rear corners and the far fence line |
A small home can get full coverage with four cameras if the views overlap. A two-story home needs more because the upper windows and the longer walls create more approaches. A corner lot needs the most, because two street sides mean two public approaches instead of one. Count the approaches on your sketch, not the rooms in your house, and the camera count follows.
Common Placement Mistakes on the Diagram
The most common mistake is putting every camera around the front door. The front looks covered, but the sides and the back are open. Cover the hidden sides first, because a stranger uses the approach nobody can see.
The second mistake is mounting cameras too high. A camera on a second-story gable sees the roof and the street, but it cannot catch a face at the door. Bring it down to 8 to 9 feet, even if the mount looks less tidy.
The third mistake is aiming cameras at each other. Two cameras that face each other waste half their views on the same ground and leave the far ends open. Aim them in the same direction, with overlapping wedges, so they watch a corridor of ground together.
The fourth mistake is forgetting the Wi-Fi and power check. A camera on the far fence with no signal and no power is a hole in the plan, not a camera. Mark power and signal on the diagram for every dot, and fix the weak spots before you buy.
The fifth mistake is aiming a camera at a neighbor’s windows or yard. Keep your cameras on your own property. A camera that watches a neighbor’s bedroom window creates a privacy problem and may break local rules. Aim at your own doors, driveway, and yard, and use motion zones to cut out the street and the neighbor’s land.
Test the Diagram Before You Drill
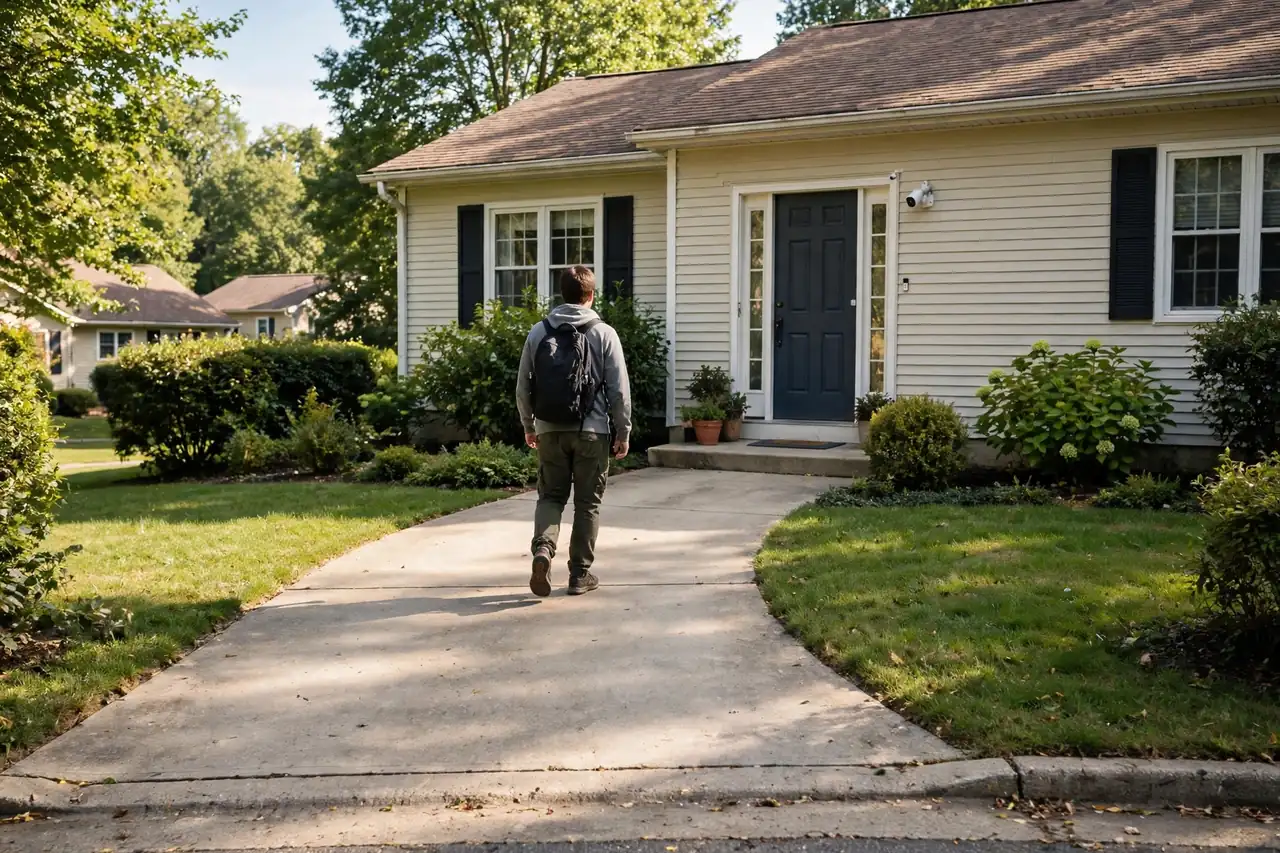
Test the plan with a walk-through before you mount anything. Ask a helper to walk each approach route on your diagram while you watch from inside. Stand at each camera spot with your phone held where the lens will go, and check what it sees. Move any dot that misses the walkway or catches only sky.
Test at dusk too. A camera that sees fine at noon can turn into a glare patch at sunset, when the sun sits low in its view. Shift the mount or the angle until the dusk view is clear. Then mark the final spots on the diagram, with the height and the angle written beside each dot.
Keep the finished diagram. It tells you where each camera is, what it should see, and where the cables and the Wi-Fi nodes go. When a camera goes offline or misses an event, the diagram is the first thing you check, because it shows what the camera was supposed to see. If a camera goes offline, offline-camera guide walks you through the fix.
Related Guides
Plan the system around the diagram with our best home security camera system guide. Fix the gaps the diagram reveals with our blind-spot guide in this cluster, and choose the right hardware with our floodlight and solar camera guides in the same cluster. For a camera that records without gaps, read security camera with SD card and how long cameras keep footage. For the yard itself, our patio lighting ideas show how to layer light so the cameras see clearly at night.
Frequently Asked Questions
Where should I place outdoor security cameras?
Cover the front door, the driveway, the back door, and the side passages first. Mount each camera 7 to 10 feet high, tilt it down 10 to 30 degrees, and overlap the views so a person walking from one camera to the next never leaves the frame.
How high should outdoor security cameras be mounted?
Mount them 7 to 10 feet high, with 8 to 9 feet as the best height for most homes. Lower than 7 feet, a camera is easy to tamper with. Higher than 10 feet, faces shrink and the blind spot below the camera grows.
How many outdoor security cameras do I need?
Most single-story homes need four to six cameras, and two-story homes need five to six. Count the approaches on your diagram, not the rooms in your house: front door, driveway, back door, side passages, and garage.
Should security cameras overlap?
Yes. Overlap each camera’s view with the next one by a few feet, so a person never walks through a gap. Four cameras with overlapping views protect a home better than six cameras with gaps between them.
Can I point a security camera at my neighbor’s house?
You should not. Aim cameras at your own doors, driveway, and yard, and use motion zones to cut out the street and neighboring property. A camera that watches a neighbor’s windows creates a privacy problem and may break local rules.
What is the best angle for a security camera?
Tilt the camera down 10 to 30 degrees from horizontal, and mount it on a corner when you can, so it sees down two sides at once. Aim it at the approach to a door, not just at the door itself.
Draw the sketch, mark the entries, place the cameras, and test the plan with a walk-through before you drill. Then read our best home security camera system guide to choose the cameras for your diagram.