To install a smart thermostat, turn off power to your heating and cooling system at the breaker, remove the old thermostat and photograph its wiring, mount the new base plate, connect each labeled wire to the matching terminal, restore power, and finish setup in the app. Most first-timers finish a straightforward smart thermostat install in 30 to 60 minutes. Before you buy anything, though, check two things: your system must be a low-voltage (24-volt) system, and most smart thermostats need a C-wire for steady power.
This guide walks you through the full install process, from the compatibility check to the final heat and cool test. Follow the steps in order, and do not skip the power-off step. If at any point the wiring looks wrong or unfamiliar, stop and call an HVAC technician. A shorted control board costs far more than a service visit.
💡 Practical Home Tip: Keep your old thermostat in a drawer for a few weeks after the swap. If the new one ever acts up during setup, you can put the old one back in minutes and have heat again while you sort out the problem.
Before You Buy or Touch a Wire: Check Compatibility First
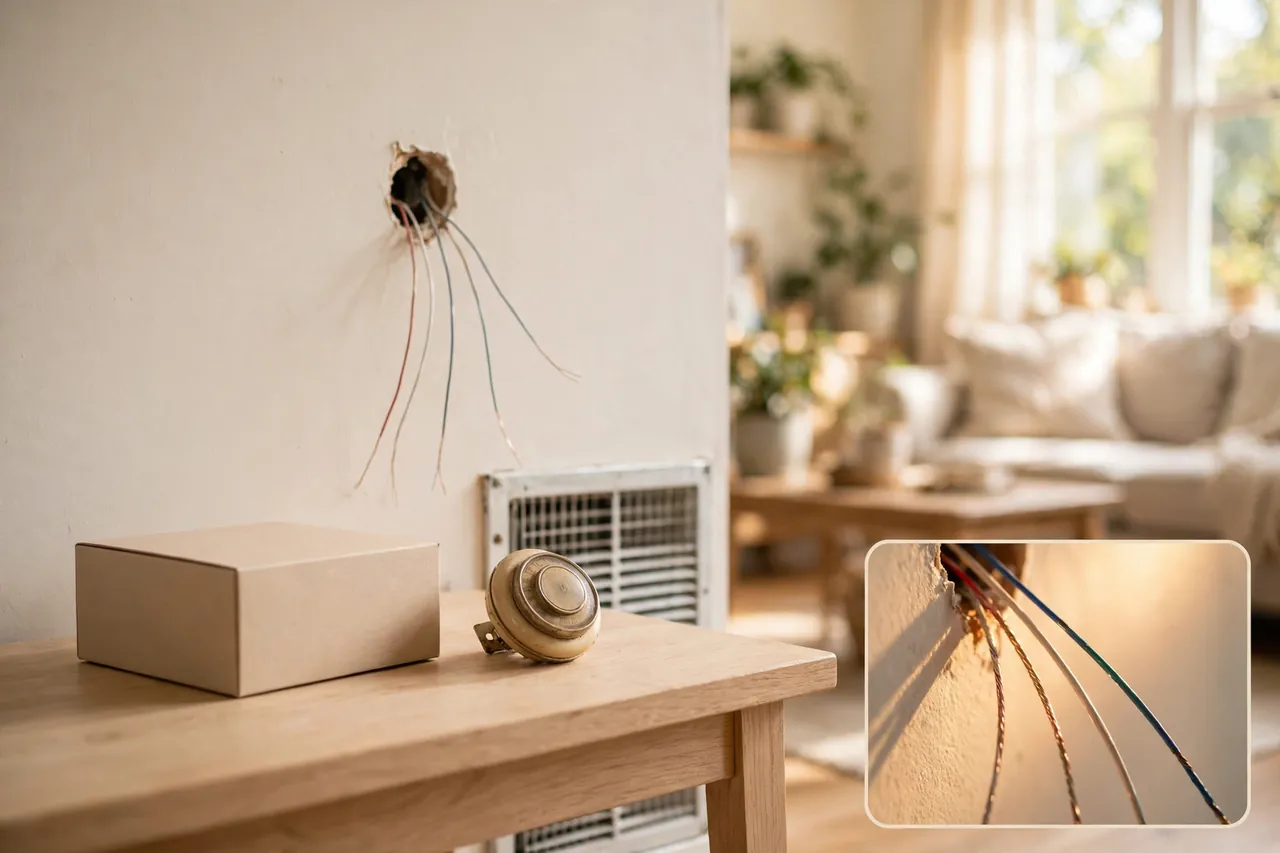
A smart thermostat install starts before you open the box. Most smart thermostats work with standard low-voltage (24-volt) heating and cooling systems, which cover most American homes with a furnace, central air, or a heat pump. They do not work with high-voltage systems, such as electric baseboard heaters running on 120 or 240 volts, or with millivolt systems found on some gas fireplaces and wall heaters.
Check your system type first. Look at your heating and cooling equipment: a furnace with ducts and central air is a forced-air system, and almost every smart thermostat supports it. A heat pump looks like an outdoor unit that both heats and cools, and it needs a thermostat that supports heat pump wiring. If you are not sure what kind of system you have, our guide on how to choose a heating and air conditioning system explains the main system types and how to tell them apart.
Next, check the voltage. Pop off your old thermostat’s faceplate and look at the wires. Thin wires, usually 18 to 22 gauge, mean low voltage, and you are good to go. Thick wires, usually 12 or 14 gauge, mean line voltage. If you see thick wires, stop. A standard smart thermostat cannot go on that circuit, and you need a line-voltage model or a professional.
Then check for a C-wire. The C-wire, short for common wire, gives your smart thermostat steady 24-volt power for its screen and Wi-Fi. Look for a wire connected to a terminal labeled “C” on your old thermostat’s backplate. It is often blue or black, but never trust color alone. Always read the terminal letter. If no wire sits on the C terminal, pull the wire bundle gently out of the wall and look for an unused wire tucked behind the plate. Many homes have a spare wire that was never connected.
If there is truly no C-wire, you still have options. Many thermostats include a power adapter kit in the box, such as Ecobee’s Power Extender Kit, which Ecobee’s own installation guide walks through step by step, which installs at the furnace control board and creates a C-wire from your existing wires. Some models can also run without a C-wire by borrowing small amounts of power, but that can cause flickering screens or short cycling. Run the manufacturer’s free online compatibility checker before you buy. Ecobee’s checker at ecobee.com/compatibility and the checkers from Google Nest and Honeywell Home take about two minutes and tell you exactly what your wiring supports.
Tools and Supplies You Need
A smart thermostat install needs only basic tools. Gather everything before you start so you are not hunting for a drill with the power off and the heat down.
- Phillips and flathead screwdrivers
- A small level (many thermostats include one in the box)
- A drill with a 3/16-inch bit, only if you need new screw holes
- A pencil for marking the wall
- Masking tape and a pen for labeling wires
- Your phone, for photographing the wiring and running the app
- Your Wi-Fi network name and password
- The new thermostat, its base plate, screws, wall anchors, and wire labels from the box
Most smart thermostats come with everything else you need, including screws, anchors, and a trim plate to cover marks left by a larger old thermostat. You do not need a voltage tester for a basic swap, but one is a smart extra if you want to confirm the power is truly off.
How Long Does a Smart Thermostat Install Take?
Plan for about 30 to 60 minutes for a standard replacement with compatible wiring. That covers the whole job: power off, old thermostat out, new base mounted, wires connected, power on, and app setup. First-timers usually land near the top of that range, and that is fine. Rushing the wiring is how mistakes happen.
Add 30 minutes or more if you need to install a C-wire adapter at the furnace, patch the wall, or troubleshoot Wi-Fi during setup. A professional can usually finish a standard swap in under an hour. Set aside a full hour, pick a mild day, and do not start the job right before guests arrive or during a cold snap.
Step 1: Turn Off the Power at the Breaker
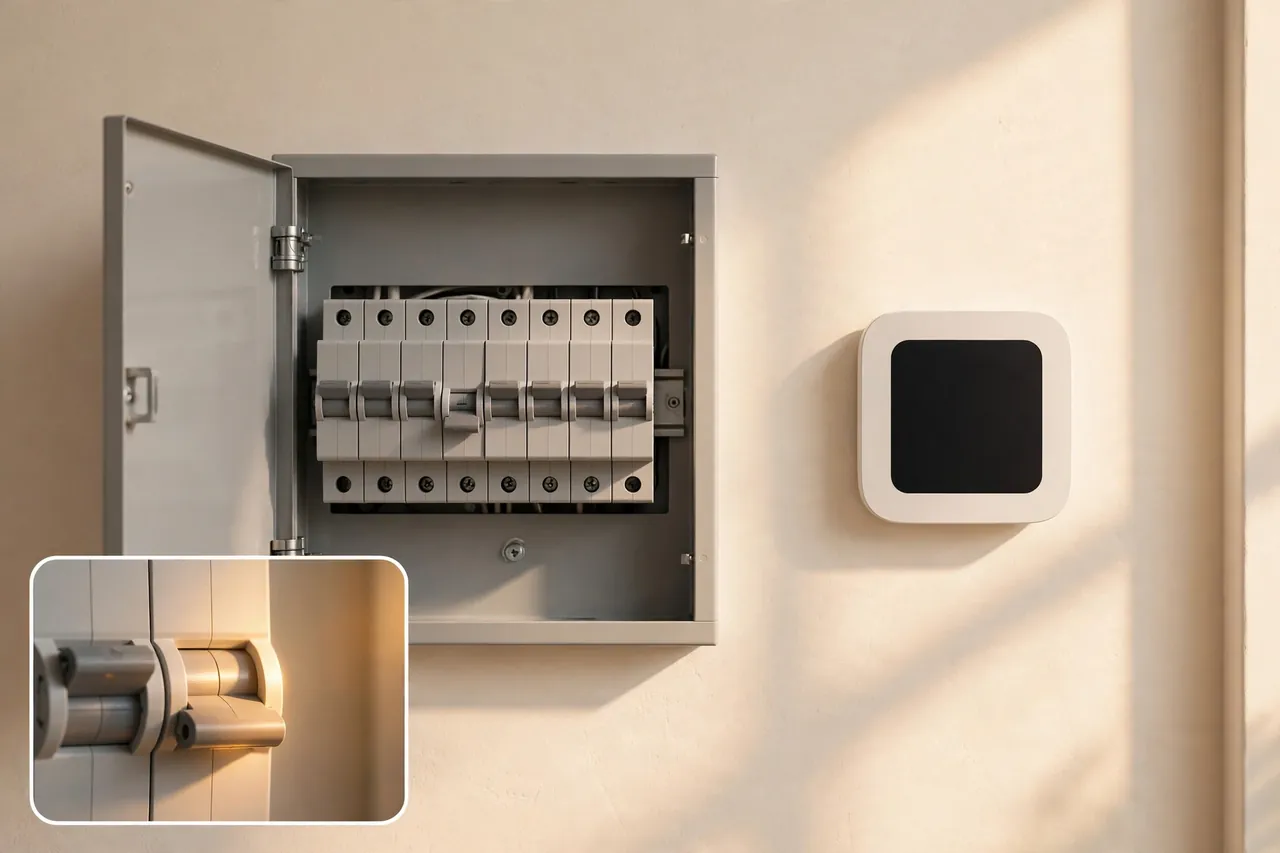
Do not touch a single wire until the power is off. Thermostat wiring is low voltage, but a live wire can still short out your furnace control board in a second, and that is an expensive repair. Consumer Reports gives the same warning in its install guide: cut power at the breaker before you remove anything, because a short can damage your HVAC equipment.
Go to your breaker panel and find the breaker labeled “furnace,” “air handler,” or “HVAC.” Some homes have two breakers, one for heating and one for cooling, so switch off both. Then go back to the old thermostat and try to turn the heat on. Nothing should happen. No fan, no click, no warm air. If the system still responds, you switched off the wrong breaker. Go back and find the right one.
Some battery-powered thermostats still show a display after the power is cut, because the batteries keep the screen alive. Do not let that fool you. The test that matters is whether the heating or cooling equipment runs. If it does not run, the power is off and you can work safely.
Step 2: Remove the Old Thermostat and Photograph the Wiring
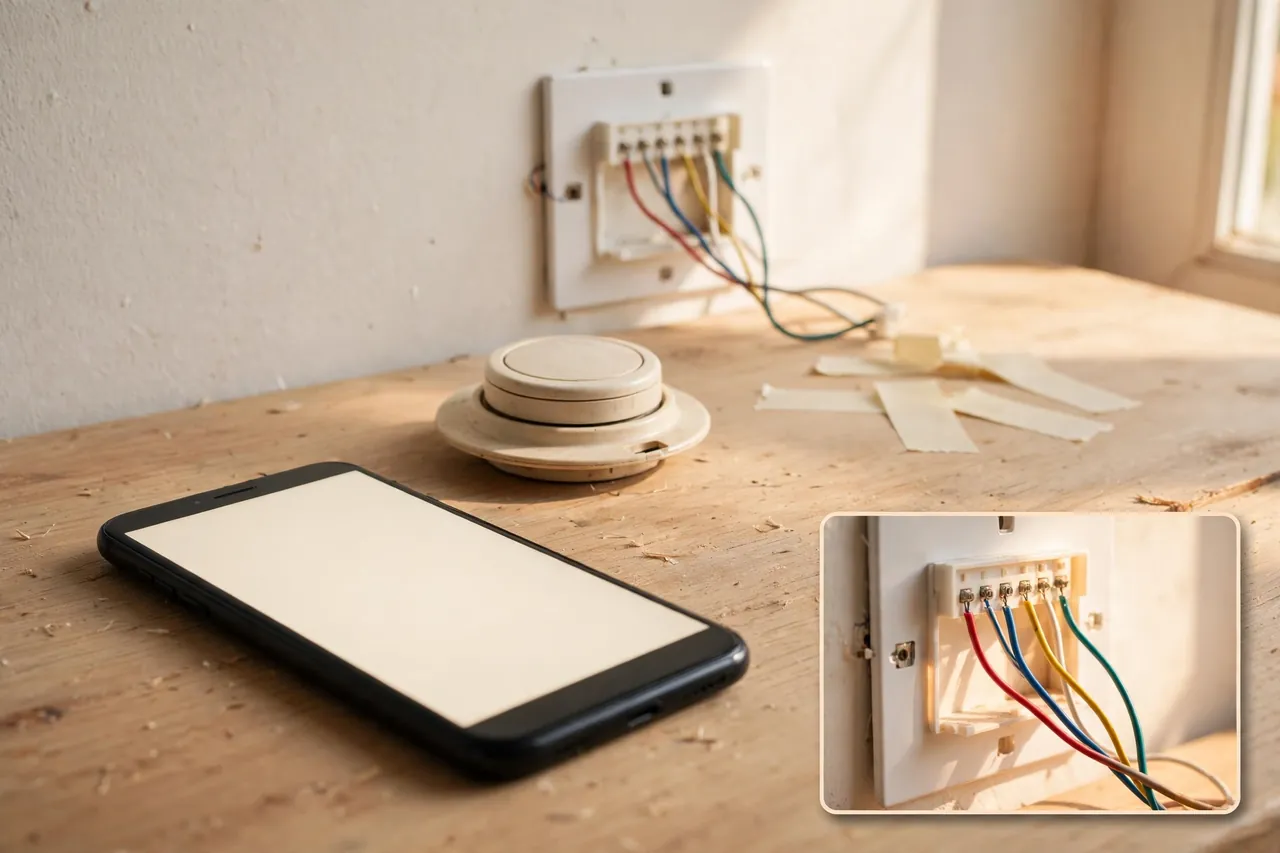
Pop the faceplate off your old thermostat. Most faceplates pull straight off with a gentle tug. If yours does not budge, look underneath for a small screw or a release tab, and do not force it. Once the faceplate is off, you will see the backplate with several thin wires connected to lettered terminals.
Before you disconnect anything, take a clear photo of the wiring with your phone. Take two photos from slightly different angles, and make sure every terminal letter is readable in at least one of them. This photo is your safety net. If you get confused later, it shows you exactly how the old thermostat was wired.
Next, label each wire with a small piece of tape marked with its terminal letter. Your new thermostat’s box usually includes printed wire labels for this. Label the wires by the letter on the terminal they sit in, not by their color. Wire colors vary from home to home, but the terminal letters are the truth. Then disconnect the wires one at a time and unscrew the old backplate from the wall. Tape the loose wires to the wall so they cannot slip back into the hole.
If your old thermostat is a very old mercury model, handle it with care and do not throw it in the trash. Mercury thermostats need special disposal. Check your local hazardous waste program for drop-off instructions.
Step 3: Mount the New Base Plate
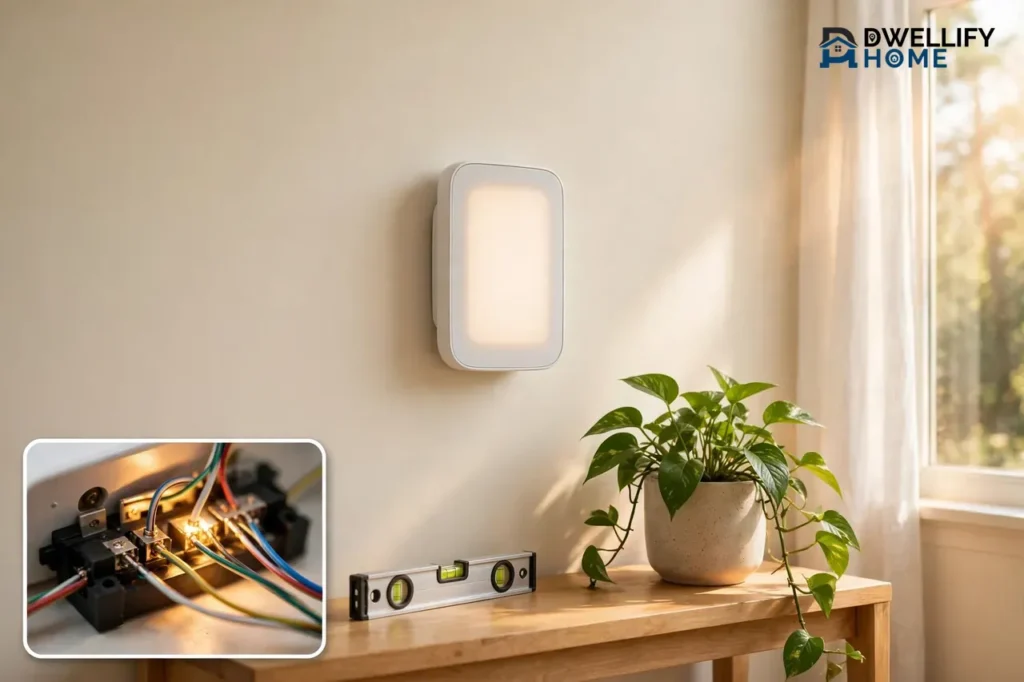
Hold the new thermostat’s base plate against the wall and pull the wires through the center opening. Use the small level to get it straight, then mark the screw holes with a pencil. If the new screw holes line up with the old ones, you can reuse them. If not, drill new holes and tap in the wall anchors from the box.
If your old thermostat was larger than the new one, use the trim plate included in the box. It sits behind the base plate and covers old screw holes, paint lines, and marks on the wall. Screw the base plate to the wall snugly, but do not overtighten. A cracked base plate or a plate pulled crooked against an uneven wall will keep the thermostat from sitting flat.
Check the location while you are at it. A thermostat reads best on an inside wall, about five feet above the floor, away from direct sunlight, drafts, doorways, and heat sources like lamps or kitchen appliances. If your old thermostat sat in a bad spot, such as right above a heat vent, now is your one easy chance to move it, but only if the wires reach the new spot without splicing.
Step 4: Connect the Wires to the New Thermostat
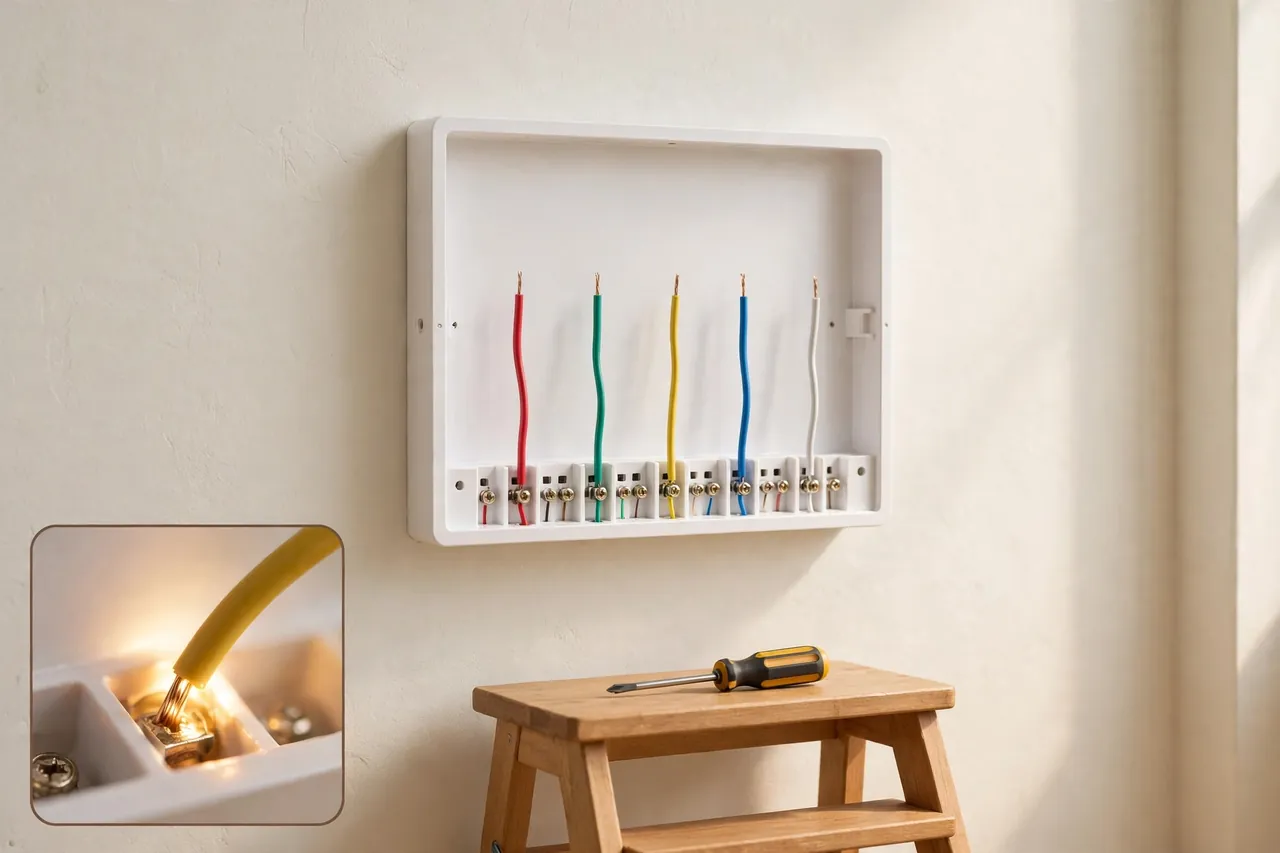
Connecting the wires is the heart of installing a smart thermostat, and it is simpler than it looks. Match each labeled wire to the terminal with the same letter on the new base plate, and push each wire in until it clicks or locks. Give each wire a gentle tug to confirm it is seated. A loose wire is the most common cause of a thermostat that powers on but cannot call for heat or cooling.
The usual terminals are R for power, W for heat, Y for cooling, G for the fan, and C for the common wire. Heat pump systems also use O or B for the reversing valve. Your thermostat’s manual and the on-screen setup will confirm the exact mapping for your system. Wire colors are only a hint, never the rule. The terminal letter on your old thermostat, recorded in your photo and your labels, is what you follow.
Do not force a wire into a terminal that does not match, and never connect two wires to one terminal unless the manual says to. If you find a wire with no matching terminal, or a terminal letter you do not recognize, stop and check the manual before you go further. The full wire-by-wire reference, including what to do with extra wires and the C-wire adapter, lives in our thermostat wiring guide, which covers labels, colors, and diagrams in detail.
If your system has no C-wire, this is the step where the power adapter kit comes in. Follow the kit’s instructions exactly, because the adapter installs at the furnace control board, not at the wall. If opening the furnace panel makes you uneasy, that is a good moment to call a professional rather than guess.
Step 5: Attach the Thermostat and Turn the Power Back On
Push any extra wire back into the wall opening so nothing pinches behind the thermostat, then snap the thermostat display onto the base plate. It should click into place with light pressure. If it does not sit flat, pull it off and check for a wire sticking out behind it. Never force it.
Now go back to the breaker panel and switch the HVAC breakers on. Return to the thermostat and watch the screen. Most smart thermostats take a minute or two to boot up, then show a welcome screen or a setup prompt. If the screen stays dark after a couple of minutes, switch the power off again and check that the wires are fully seated and the R and C wires are in the right terminals. A dark screen after a fresh install is almost always a power or C-wire problem, not a broken thermostat.
Step 6: Set Up the App and Connect to Wi-Fi
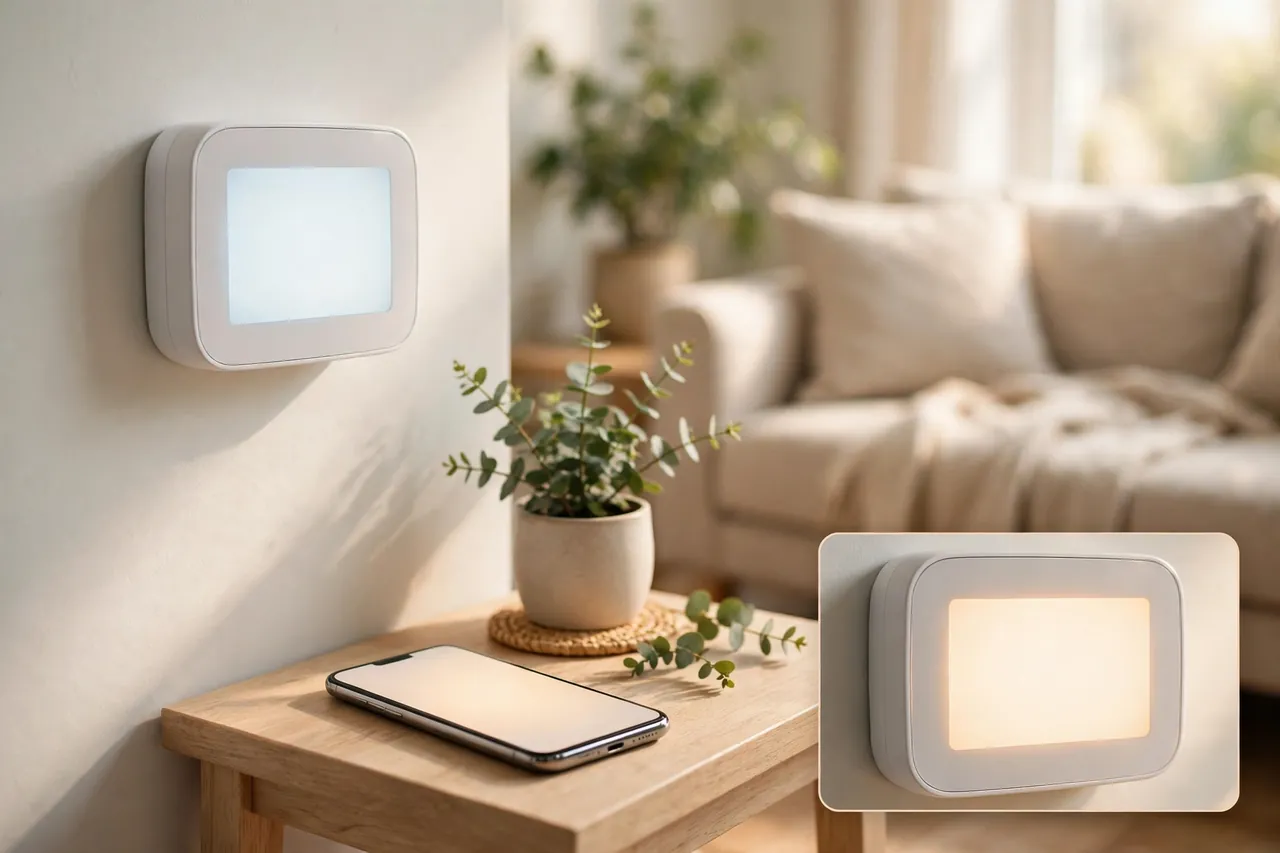
With the thermostat powered on, the screen will walk you through setup. You can usually complete setup on the thermostat itself, but the phone app is faster and gives you remote control from day one. Download your thermostat’s app before you start this step: the Ecobee app for an Ecobee thermostat install, the Honeywell Home app for a Honeywell Wi-Fi thermostat setup — Honeywell Home’s own installation guide covers the full remove-the-old-thermostat and mount-the-new-one sequence — or the Google Home app for a Nest.
Follow the on-screen prompts to connect to your Wi-Fi network. Most smart thermostats need a 2.4 GHz network, so if your router splits its bands into separate names, pick the 2.4 GHz one. Have your Wi-Fi password ready, and keep your phone near the thermostat during pairing. The app will ask about your system type, such as furnace, heat pump, or boiler, and your fuel type. Answer from what you actually have, not from a guess, because these answers set how the thermostat runs your equipment.
Create your account in the app, name the thermostat by its room, and set your first schedule. Start with a simple schedule and adjust it over the first week as you learn how the house responds. Most smart thermostats also offer a learning mode or a smart schedule that adapts to your routine, but it needs a week or so of normal use before it gets good at it.
Step 7: Test Heating and Cooling
Do not call the job done until you have tested both modes. Set the thermostat to heat and raise the set temperature a few degrees above the current room temperature. Within a few minutes, warm air should come from the vents. Then switch to cool and lower the set temperature a few degrees below room temperature. Cool air should follow within a few minutes.
Note that many smart thermostats build in a short delay, usually two to five minutes, before starting the equipment. This delay protects the compressor from rapid starts, so give it time before you decide something is wrong. Also test the fan by switching it to “On” and listening for airflow.
If heat works but cooling does not, or the other way around, switch the power off and recheck the Y and W wires first. Those two control cooling and heating, and they are the easiest to mix up. Testing both modes now, while the job is fresh in your mind, beats discovering a dead air conditioner on the first hot day of summer. It is also worth running this test before winter sets in, as part of how to winterize a house, so you know the heat will work when you need it.
7 Common Smart Thermostat Install Mistakes
Most failed installs come down to a short list of avoidable errors. Check yourself against this list before you power the system back on.
| Mistake | What goes wrong | How to avoid it |
|---|---|---|
| Skipping the compatibility check | Thermostat does not work with your system type or voltage | Run the manufacturer’s checker before buying |
| Working with the power on | Shorted control board or blown fuse | Switch off the HVAC breaker and test that the system is dead |
| No photo of the old wiring | You cannot reconstruct the original connections | Photograph the wiring before disconnecting anything |
| Trusting wire colors | Wires land on the wrong terminals | Follow terminal letters, not colors |
| Ignoring a missing C-wire | Blank screen, flickering, or short cycling | Check for a C-wire and install the adapter kit if needed |
| Loose wire connections | Heat or cooling works sometimes, or not at all | Tug each wire gently after inserting it |
| Skipping the heat and cool test | A wiring error hides until the season changes | Test both modes on install day |
One more mistake deserves a mention: mounting the thermostat in a bad location. A thermostat in direct sunlight, above a vent, or in a drafty hallway reads the wrong temperature and runs your system too much or too little. If your old thermostat sat in a spot like that, moving it a few feet during the install can fix years of uneven comfort.
When to Call a Professional
A standard smart thermostat install is a solid DIY project, but some situations belong to a licensed HVAC technician or electrician. Call one if you find line-voltage wiring, damaged or brittle wires, a system with two transformers, a multi-zone setup, or a furnace control board you do not recognize. Also call a pro if your system is a heat pump with auxiliary heat and the wiring confuses you. Heat pump systems use extra terminals, and a wrong connection can run the expensive auxiliary heat nonstop. Our guide on EM heat vs heat explains why auxiliary heat costs so much and when it should actually run.
Call a pro as well if the thermostat powers on but the system does not respond after you have rechecked the wiring, or if you smell burning or see scorch marks anywhere. Those are not troubleshooting steps. Those are stop-now signs.
There is also a practical reason to get a pro involved. If your heating system itself is old, noisy, or unreliable, a new thermostat will not fix it. At that point the smarter spend may be a system replacement, and our guide on how to buy a new HVAC system walks through sizing, efficiency ratings, and quotes. A forced-air system in particular is worth understanding before you spend on it, so read what forced-air heating is if your home uses ducts and a furnace.
Professional installation usually takes under an hour for a standard swap and costs extra on top of the thermostat itself. If you hire it out, ask the technician to show you the app setup and the schedule before they leave, so you are not learning the system alone later.
What a Smart Thermostat Does After Install Day
Once the install is done, the thermostat holds your schedule, adjusts while you are away, and lets you change the temperature from your phone. Give it a week of normal use before you judge it. Learning models need that time to map your routine, and your first schedule will need a tweak or two as you learn how fast the house heats and cools.
Check the app after the first week and look at the runtime report if your model offers one. If the system runs far longer than your old thermostat did for the same weather, revisit the setup answers, especially the system type and heat pump settings. A wrong answer during setup can make the system work harder than it should.
Disclaimer: This guide covers a standard low-voltage thermostat replacement. Thermostat wiring connects to your heating and cooling equipment, and mistakes can damage the system. If you are unsure about any step, or your wiring does not match this guide, stop and call a licensed HVAC technician or electrician. Your home, system, and local codes may vary.
Related Guides
Thermostat Wiring Guide: Wire Colors, Terminals, Diagrams, and the C-Wire · Wireless Thermostat: What It Is, How It Works, and When to Choose One · Smart Thermostats for Home: What They Do, What They Save, and How to Choose One
Frequently Asked Questions
Can I install a smart thermostat myself?
Yes, in most cases. If your home has a standard low-voltage heating and cooling system, compatible wiring, and a C-wire, a handy homeowner can finish a smart thermostat install in 30 to 60 minutes with basic tools. Call a professional if you find line-voltage wiring, a missing C-wire you cannot solve with an adapter kit, or a complex system such as multi-zone or dual-fuel.
How long does it take to install a smart thermostat?
A standard replacement takes 30 to 60 minutes for most first-timers, including app setup and Wi-Fi pairing. Add 30 minutes or more if you need to install a C-wire adapter at the furnace or troubleshoot Wi-Fi. A professional usually finishes a standard swap in under an hour.
Do smart thermostats require a C-wire?
Most smart thermostats need a C-wire for steady 24-volt power to run the screen and Wi-Fi. Without one, the thermostat may flicker, lose its connection, or short-cycle your system. Some models include a power adapter kit that creates a C-wire from existing wires, and a few models can run without one, so check your model’s requirements before you buy.
Is professional installation necessary for a smart thermostat?
Not for a standard low-voltage swap with compatible wiring and a C-wire — most handy homeowners finish that in 30 to 60 minutes. Hire a professional if you find line-voltage wiring, damaged wires, a system with two transformers, or a multi-zone setup, or if the thermostat powers on but the system does not respond after you have rechecked the wiring.
Will a smart thermostat work with my older HVAC system?
Usually, yes — the age of your home matters far less than the wiring. If you have thin low-voltage wires and a C-wire, or a spare wire you can connect as a C-wire, an older system can take a smart thermostat. Stop and call a professional if you find thick line-voltage wires, crumbling insulation, or no C-wire and no spare wire.
Installing a smart thermostat is one of the most satisfying hour-long upgrades in a home. You start with a compatibility check, cut the power, photograph the old wiring, mount the new base, connect the wires by their letters, and finish with the app and a heat-and-cool test. Do it in that order, and do not rush the wiring. Your future self, warm in winter and cool in summer, will thank you.