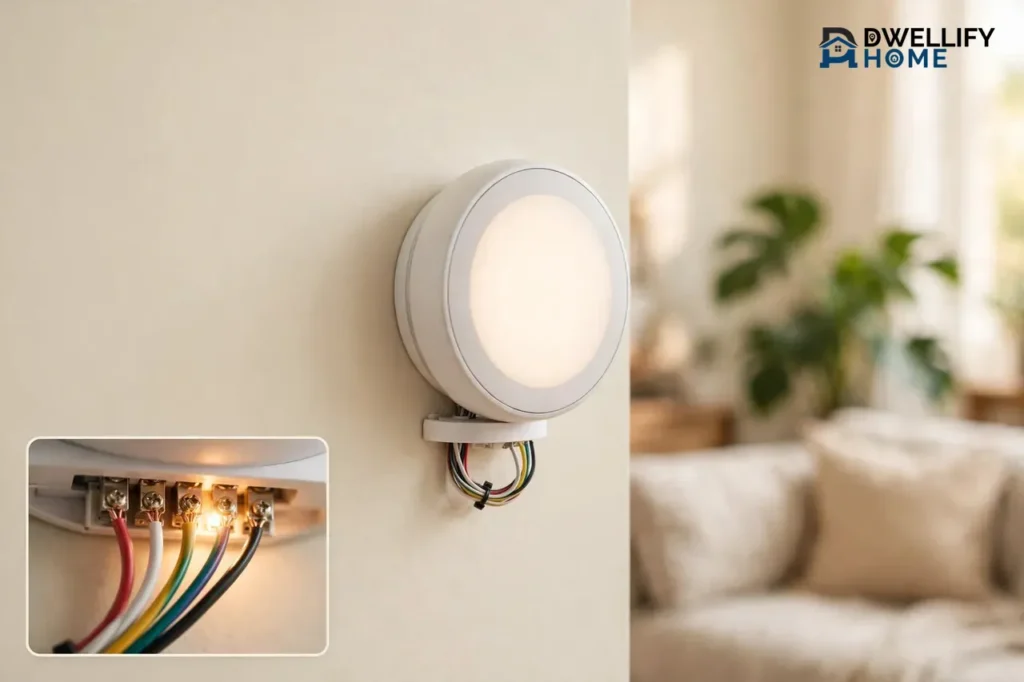
A thermostat wiring guide answers one simple question: which wire goes where? In most homes, each thin wire in the bundle behind your thermostat carries one job. The red wire brings 24-volt power, white calls for heat, yellow calls for cooling, green runs the fan, and blue (or black) is the common wire that keeps a smart thermostat powered. Match every wire by the letter on its terminal, not by its color, and you can wire a thermostat safely.
This guide covers low-voltage thermostat wiring only — the thin 18-gauge wires used by furnaces, air conditioners, and heat pumps in most American homes. If your thermostat has thick wires or a label that says 120 or 240 volts, stop. That is a line-voltage system for electric baseboard heat, and it needs an electrician, not this guide.
💡 Practical Home Tip: Before you touch a single wire, take two clear photos of your old thermostat’s wiring — one straight on and one from a slight angle — so the terminal letters are easy to read. Wires slip back into the wall the moment you let go, and a good photo is the cheapest insurance you will ever buy for this job.
How Thermostat Wiring Actually Works
Your thermostat is not a power source. It is a set of switches. A transformer inside your furnace or air handler steps household power down to 24 volts AC, and that low-voltage current travels to the thermostat on the red (R) wire.
When you ask for heat, the thermostat connects R to the white (W) wire, which tells the furnace to fire. When you ask for cooling, it connects R to the yellow (Y) wire, which tells the outdoor unit to run. When you switch the fan to ON, it connects R to the green (G) wire, which starts the blower. That is the whole system: the thermostat opens and closes small circuits, and the big equipment does the heavy work somewhere else.
Because the wiring is low voltage, a brief touch will not shock you the way household wiring can. That does not make it risk-free, though. Shorting two wires together can blow the small fuse on your furnace control board, and a wrong connection can damage the thermostat or the equipment. So turn the power off first, every time, and check your work before you turn it back on.
What Each Thermostat Wire Does
Every wire has a letter, and the letter is the truth. The table below lists the terminals you will see on most thermostats, what each one does, and the color installers usually use.
| Terminal | Usual wire color | What it does |
|---|---|---|
| R (Rh, Rc) | Red | 24-volt power from the transformer. Rh feeds heat, Rc feeds cooling. One transformer means one R wire, often with a jumper between Rh and Rc. |
| C | Blue or black | Common wire. Completes the 24-volt circuit so the thermostat has continuous power. Smart thermostats need it. |
| W (W1) | White | First-stage heat. Calls the furnace or boiler to start heating. |
| W2 / AUX | White or brown | Second-stage heat. On a heat pump, this is the auxiliary (backup) heat. |
| Y (Y1) | Yellow | First-stage cooling. On a heat pump, Y runs the compressor for heating and cooling. |
| Y2 | Yellow | Second-stage cooling on two-stage systems. |
| G | Green | Fan. Runs the indoor blower on its own, without heat or cooling. |
| O / B | Orange / dark blue | Heat pump reversing valve. O energizes it in cooling mode on most brands; B energizes it in heating mode on Rheem and Ruud systems. |
| E | Brown | Emergency heat on a heat pump. Runs the backup heat by itself when you switch to emergency mode. |
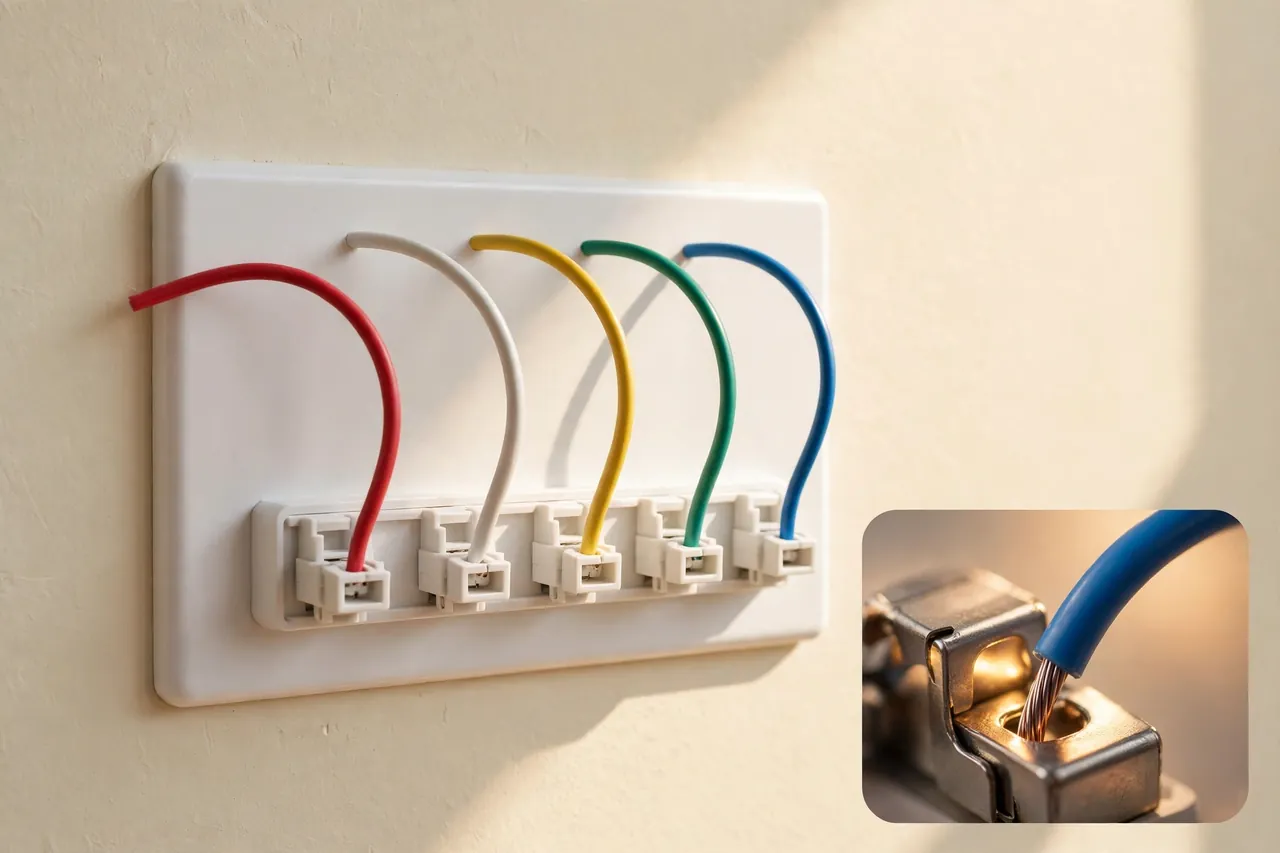
A few terminals deserve extra attention. The R wire splits into Rh and Rc only when your home has two separate transformers, one for heating and one for cooling. Most homes have one transformer, so you will see a single R wire and a small jumper joining Rh and Rc. If your new thermostat has a built-in jumper or a switch for R, follow its manual and do not add a second jumper.
The O/B terminal is the one that trips up the most people. It exists only on heat pumps, and getting O and B backward flips your system: it heats when you ask for cooling and cools when you ask for heat. Copy exactly what the old thermostat had on O or B, and set the new thermostat’s heat pump setting to match. Honeywell Home’s wiring support page lists the same terminals and warns that the reversing valve setting must match your equipment.
Thermostat Wire Color Codes — and Why Colors Can Lie
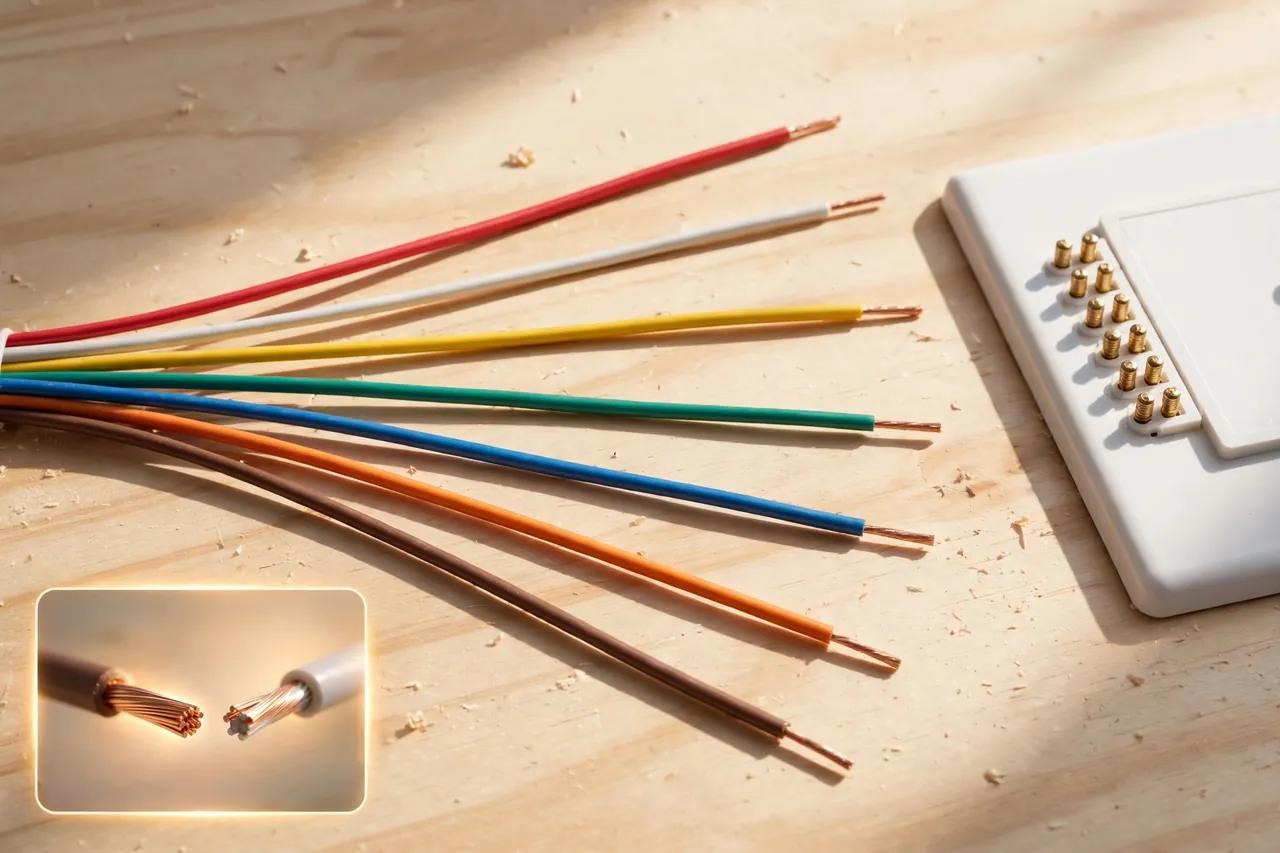
Thermostat wire colors are conventions, not rules. No building code forces an installer to use red for power and white for heat. Installers run out of a color, reuse an old cable, or splice wires in the wall, and any color can end up on any terminal. A green wire on the Y terminal is entirely possible, and it works fine — as long as you know it is the cooling wire because it sat on Y.
Honeywell Home states this plainly in its own wiring guidance: there is no standard for which color wire controls each function, and each wire should be identified by the terminal it connects to, never by color alone. If you cannot tell which terminal a wire came from, you may need to check the control board inside your furnace or air handler, where the same letters appear.
So use the color chart as a starting guess and the terminal letters as the final answer. The most common map in American homes looks like this: red to R, white to W, yellow to Y, green to G, blue or black to C, and orange to O (or dark blue to B) on heat pumps. When your wires match that map, wiring is quick. When they do not, the letters still tell you everything.
One color deserves a special warning: blue. A blue wire is usually the C wire, but on some heat pumps — especially Rheem and Ruud systems — a dark blue wire is the B wire for the reversing valve. Connecting a B wire to the C terminal, or a C wire to the B terminal, will cause real problems. Check the letter on the old thermostat before you decide what any blue wire is.
Read Your Old Thermostat’s Wiring Before You Touch Anything
The most important step in any thermostat wiring job happens before you disconnect a single wire. Read the old thermostat carefully, and record what you see.
First, turn off the power to your heating and cooling system at the breaker or the furnace service switch. Then confirm the power is truly off: turn the old thermostat up or down so the system should start, and wait a few minutes. If nothing starts, the power is off.
Next, pull the old thermostat off its wall plate and photograph the wiring. Make sure the photo shows the letters next to every terminal, not just the colored wires. Take a second photo from a different angle, because a terminal letter can hide behind a wire in one shot and show clearly in another.
Then label every wire with the letter of the terminal it came from. Masking tape and a pen work fine. Label by terminal letter, never by color. If a wire is not connected to any terminal — folded back into the wall, for example — note that too, but do not label it as a spare yet. An unconnected wire at the thermostat end may also be unconnected at the furnace end, and that matters for the C-wire section below.
Finally, check for the warning signs that mean this is not a standard low-voltage job. Thick black or red wires, or a label that says 120 or 240 volts, mean a line-voltage thermostat — stop and call an electrician. Terminals labeled A, B, C or 1, 2, 3 mean a communicating system that needs a matching thermostat. Terminals labeled G1, G2, G3 mean multi-speed fan control that most retail thermostats cannot handle. In each of these cases, the wiring guide for a standard thermostat does not apply.
Thermostat Wiring Diagrams for Common Setups
A wiring diagram is just a list of which wire lands on which terminal. Here are the four setups you will meet in most homes, described wire by wire so you can match your own bundle to the right one.
2-Wire Thermostat Wiring (Heat Only)
Two wires — red and white — serve a furnace or boiler with no air conditioning and no fan control. Red goes to R, white goes to W. That is the whole diagram. This setup is common in older homes with a boiler or a heat-only furnace. Many smart thermostats will not work on two wires alone, because there is no C wire and no spare conductor, so check the C-wire section below before you buy.
4-Wire Thermostat Wiring (Heat, Cool, and Fan)
Four wires — red, white, yellow, green — run a furnace with an air conditioner. Red goes to R, white to W, yellow to Y, and green to G. This is the classic setup in homes built or updated in recent decades. Everything works except continuous power for a smart thermostat, because there is no C wire. If your cable has a fifth conductor tucked behind the wall plate, you may already have your C wire waiting.
5-Wire Thermostat Wiring Diagram (Heat, Cool, Fan, and Common)
Five wires — red, white, yellow, green, and blue or black — are the full standard set. Red goes to R, white to W, yellow to Y, green to G, and blue or black to C. With this setup, any modern thermostat installs cleanly, including every Wi-Fi and smart model. If you are running new cable, use at least five conductors, and consider eight for future additions like a humidifier or a second stage.
Heat Pump Thermostat Wiring
A heat pump setup replaces the white heat wire with the reversing valve wire. The standard single-stage heat pump uses five wires: red to R, yellow to Y (the compressor, which heats and cools), green to G, blue or black to C, and orange to O — or dark blue to B on Rheem and Ruud systems.
A heat pump with backup heat adds a sixth wire: white or brown to AUX (or W2) for the auxiliary heat strips, and sometimes a seventh wire to E for emergency heat. The single most important check on a heat pump is O versus B. O energizes the reversing valve in cooling on most brands, while B energizes it in heating on Rheem and Ruud. If you are unsure which one your system uses, the answer is on the old thermostat — copy it exactly — and on the wiring diagram inside your air handler.
If your heat pump has an EM heat setting, that mode runs the backup heat without the compressor. Our guide to EM heat vs heat explains when that mode helps and when it wastes money.
How to Wire a Thermostat, Step by Step
Work slowly and check each wire twice. The whole job usually takes 20 to 30 minutes once you know your wiring.
Caution first: confirm the power is off at the breaker or furnace switch before you touch any wire, and keep it off until every wire is connected and tight. A live low-voltage wire that touches another wire can blow the fuse on your furnace control board.
- Turn off the power. Switch off the breaker or the furnace service switch, then confirm the system stays silent when you call for heat or cooling on the old thermostat.
- Photograph and label the old wiring. Take clear photos that show every terminal letter, then tag each wire with its terminal letter using masking tape. Do not remove any wire until every wire is labeled.
- Remove the old thermostat. Disconnect the wires one at a time and keep them from slipping back into the wall — a clothespin or a piece of tape across the bundle works. Unscrew the old wall plate.
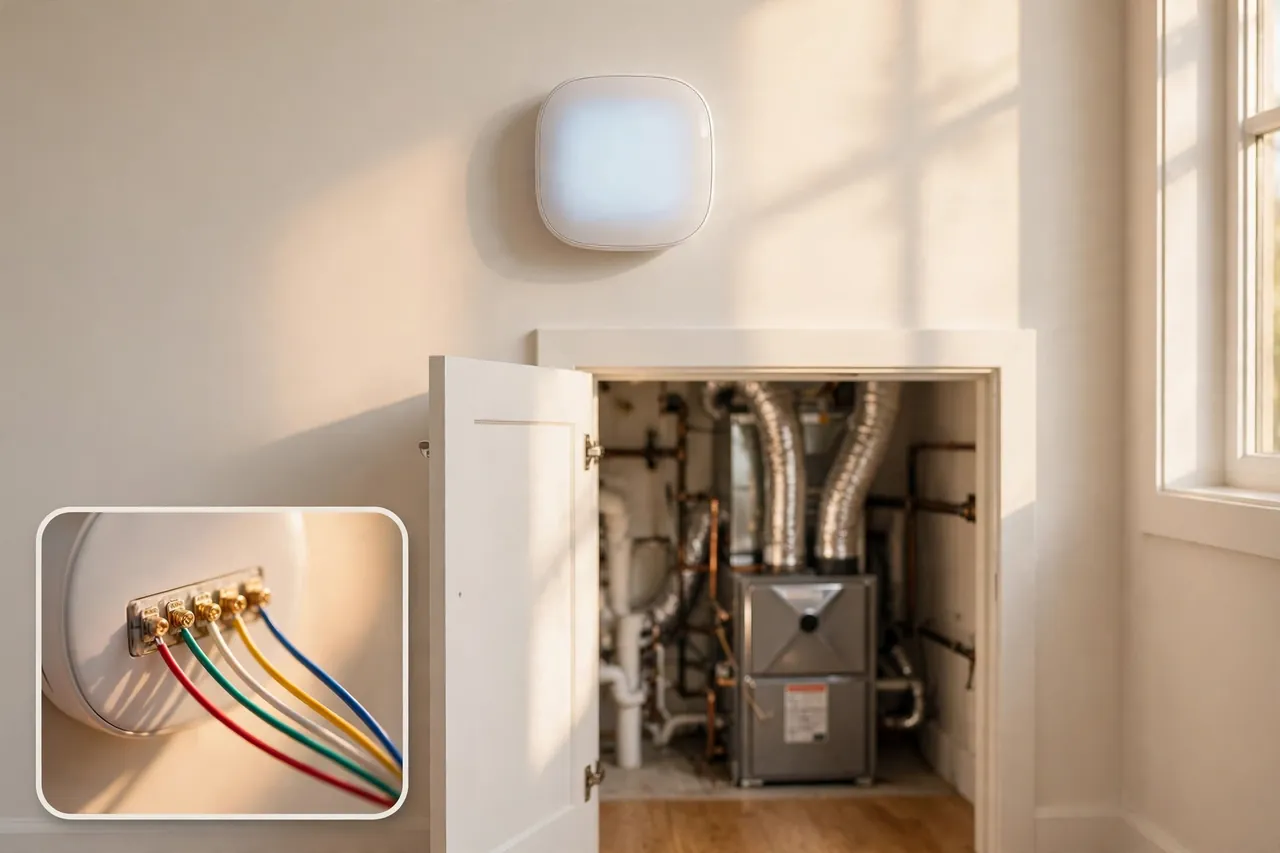
- Mount the new base. Feed the wire bundle through the new base plate, level it, and screw it to the wall. Leave about a quarter inch of bare wire exposed on each conductor, and trim any frayed ends.
- Connect the wires by terminal letter. Match each labeled wire to the same letter on the new thermostat: R to R, W to W, Y to Y, G to G, C to C, and O or B exactly as the old thermostat had it. Push each wire firmly into its terminal and tighten the screw. Give each wire a gentle tug — it should not move.
- Check for stray copper. No bare wire should touch a neighboring terminal or the wall plate. Push any extra wire back into the wall opening so nothing pinches when you attach the thermostat.
- Restore power and attach the thermostat. Clip the thermostat onto its base, then turn the power back on at the breaker or furnace switch.
- Test every mode. Run heat, cooling, and fan-only, a few minutes each, and confirm the system responds in each mode. On a heat pump, confirm warm air in heating mode before you walk away.
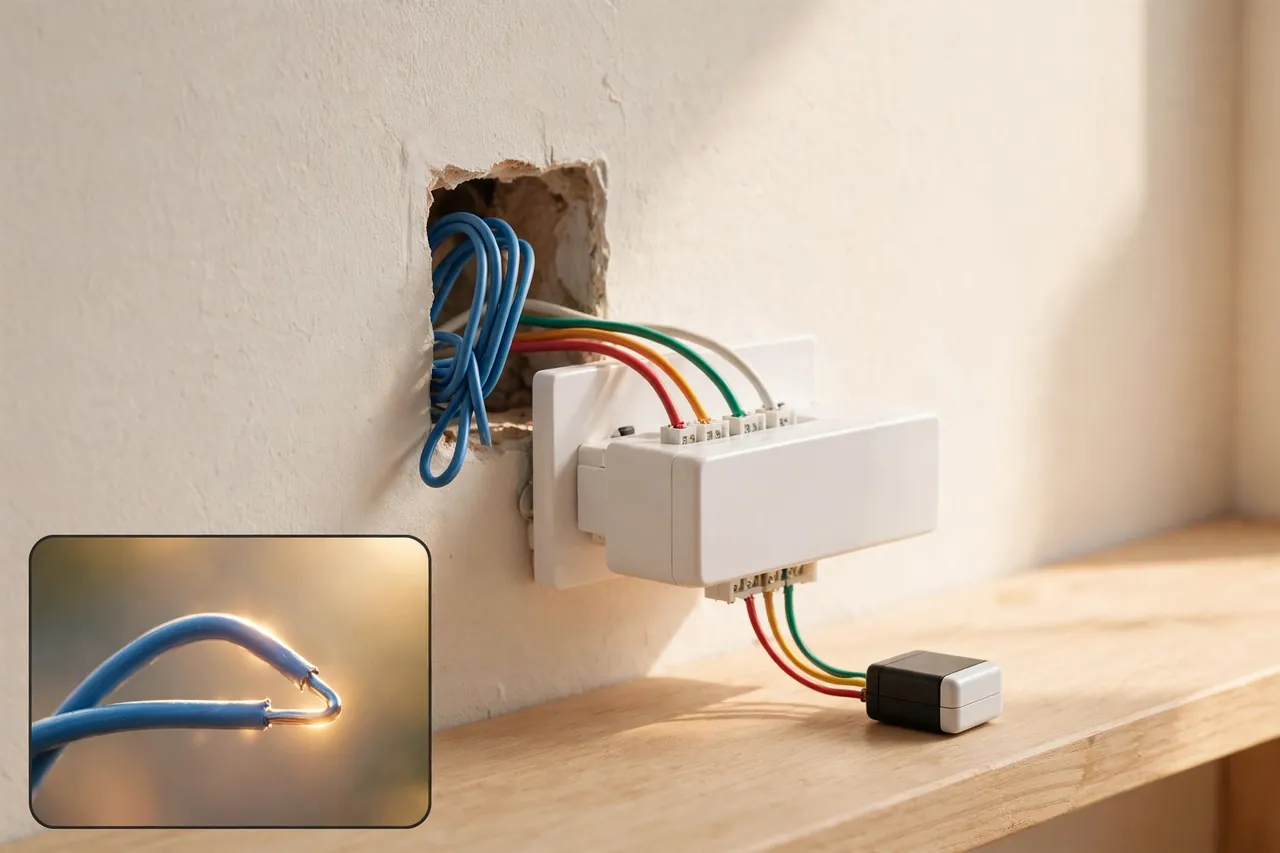
If a wire will not stay in its terminal, the stripped end may be too short or nicked. Cut it back to clean copper and strip a fresh quarter inch. Never wrap a loose wire around a screw and hope friction holds it — a wire that works loose later can short against its neighbor.
The C-Wire: What It Is and What to Do Without One
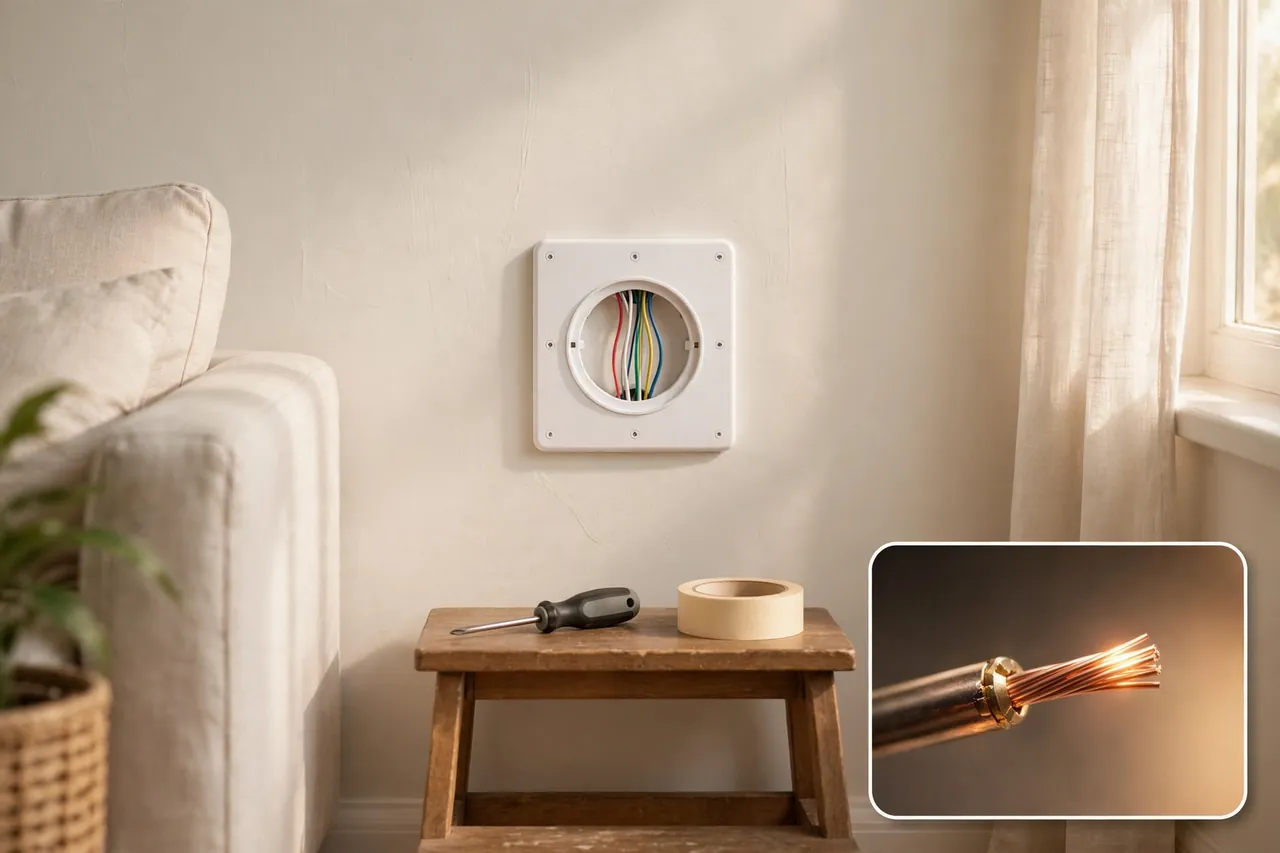
The C-wire, or common wire, is the return path that completes the 24-volt circuit between the thermostat and the transformer. Older battery-powered thermostats did not need it, because they drew almost no power. Smart thermostats are small computers with screens, Wi-Fi radios, and sensors, and they need continuous power — which is why the C-wire matters now more than ever.
Without a C wire, a smart thermostat may steal small amounts of power from the heating or cooling wires when the system is idle. That can work for a while, then cause Wi-Fi dropouts, blank screens, reboots, or the furnace turning on for no reason. Some thermostats refuse to power up at all without a C wire. Honeywell Home’s installation guide for its smart thermostats states that its Wi-Fi models require a C-wire to power the display, and offers a C-wire adapter for homes that lack one.
If your old thermostat has no wire on the C terminal, work through these options in order, cheapest first.
- Check for a spare wire. Many installers ran five-conductor cable and folded the unused wire back into the wall. Look behind the thermostat base for a tucked, unconnected wire. If one exists, check the furnace end too: the same wire must be connected to the C terminal on the furnace control board. Both ends have to be connected, or the wire does nothing.
- Use a C-wire adapter. An add-a-wire adapter is a small module installed at the furnace that lets four wires do the work of five, usually by combining the fan and cooling signals. It is a reliable fix when installed correctly, but it touches the furnace control board, which is the edge of most homeowners’ comfort zone. Some thermostat makers include a free adapter in the box or by voucher.
- Run new cable. The honest permanent fix is a new five-conductor (or eight-conductor, for future-proofing) thermostat cable from the air handler to the wall. In most homes this is a quick professional visit, and it ends the problem for every thermostat you will ever install.
- Repurpose the G wire. Some thermostats let you turn the fan wire into a C wire, which gives you continuous power but costs you independent fan control. Only do this if your thermostat’s manual describes the option for your exact model, and only if you are comfortable losing the fan-only setting.
Do not connect a spare wire to C at the thermostat and leave the furnace end hanging, and do not guess which wire at the furnace board is the common. The C terminal on the control board is labeled, and the wire must land on it. If you open the furnace panel and the board looks unfamiliar, that is the moment to call a technician.
Test Your Wiring After You Connect It
Testing takes ten minutes and catches nearly every wiring mistake before it becomes a repair bill. Run each mode and watch for the right result.
- Heat: set the thermostat several degrees above the room temperature. The furnace should start within a minute, and warm air should come from the vents within a few minutes.
- Cooling: set the thermostat several degrees below the room temperature. The outdoor unit should start, and cool air should follow. On a heat pump, make sure the air is actually cool — warm air in cooling mode means the O/B wire is backward.
- Fan only: switch the fan to ON with no heating or cooling call. The blower should run on its own, and stop when you switch the fan back to AUTO.
- Heat pump check: in heating mode, confirm warm air. If you get cool air in heating mode and warm air in cooling mode, cut the power, swap the O/B setting or wire, and test again.
If nothing happens in any mode, the most likely causes are a blown low-voltage fuse on the furnace board (often a small automotive-style fuse), a wire that slipped out of its terminal, or a tripped breaker. Check those before you assume the thermostat is faulty. If the system short-cycles — turning on and off every minute or two right after installation — a loose terminal or a wrong configuration setting is the usual cause, not a bad thermostat.
For a deeper look at what can go wrong after the wiring is done, the companion guide on a how to choose a heating and air conditioning system helps you judge whether the equipment itself, rather than the wiring, is the real problem. And if your wiring check reveals that the whole system is old or failing, our guide to how to buy a new HVAC system walks through the replacement decision.
When to Call an HVAC Pro
Swapping a like-for-like thermostat with a photograph, labels, and patience is reasonable homeowner work. These situations belong with a professional.
- Your wiring does not match any standard diagram, or the terminal letters on the old thermostat are ones this guide does not cover.
- You have a heat pump with O/B wiring and the system heats when it should cool, or the other way around.
- There is no C wire and no spare conductor, and the fix means working inside the furnace control board or running new cable.
- You see thick wires, a 120- or 240-volt label, or signs of burned or melted insulation.
- The low-voltage fuse on the furnace board blows more than once, which points to a short somewhere in the cable or the equipment.
A technician can trace a wire from the thermostat to the control board in minutes, and the visit costs far less than a damaged control board or a burned-out compressor. If your system uses forced air, it also helps to know how that system moves air through your home — see what forced air heating is for the plain-English version.
Related Guides
How to Install Smart Thermostats: A Step-by-Step Guide for Beginners · Thermostat Not Working? Fix It Fast With These Symptom-First Checks · Wireless Thermostat: What It Is, How It Works, and When to Choose One
Thermostat Wiring FAQs
What do the thermostat wire colors mean?
By convention, red is 24-volt power (R), white calls for heat (W), yellow calls for cooling (Y), green runs the fan (G), blue or black is the common wire (C), and orange or dark blue controls a heat pump’s reversing valve (O/B). Colors are only a convention, so always confirm against the terminal letters, since installers do not always follow the standard.
What color is the C wire on a thermostat?
Usually blue, sometimes black, but the color is only a convention. The reliable answer is whichever wire lands on the terminal marked C at the thermostat base or the furnace control board. Check both ends before assuming, especially in homes where the wiring has been changed over the years.
Do all thermostats need a C wire?
No. Many basic battery-powered thermostats run fine without one. Most smart thermostats need continuous power, so they either require a C wire, ship with an adapter, or use battery-assisted workarounds that can cause odd furnace behavior. For any display-and-Wi-Fi model, a proper C wire is the reliable answer.
How do I add a C wire for a smart thermostat?
Three routes work: connect an unused spare conductor if your existing cable has one tucked behind the wall plate, install an add-a-wire adapter at the furnace, or run new five-conductor thermostat cable. The spare-wire check costs nothing; the other two are quick professional visits that end the problem permanently.
What happens if you wire a thermostat wrong?
Consequences range from nothing working to real damage. A blown low-voltage fuse on the furnace board is the common outcome, while a reversed O/B connection on a heat pump runs heating and cooling backward and can strain the compressor. If something behaves oddly after an install, cut the power and recheck against your photo.
Can I install a thermostat myself?
A like-for-like replacement is a reasonable DIY job: kill the power at the furnace, photograph the wiring, label each wire, and land them by terminal letter. Call a professional for missing C wires, new cable runs, control-board work, or any heat pump with O/B wiring, where mistakes can damage equipment.
Disclaimer: This guide covers standard low-voltage thermostat wiring only. Homes, wiring, and HVAC equipment vary, and electrical work carries risk. If you are unsure about any wire or your system type, stop and call a licensed HVAC technician or electrician.
Thermostat wiring looks harder than it is. The letters on the terminals tell you everything, the colors are only a hint, and a photo taken before you start is the one tool no diagram can replace. Match the letters, test every mode, and your new thermostat will do exactly what you ask it to.